
It was never part of the plan.
Why? I am history geek and we all know what happened when Japan invaded the Philippines. Japanese soldiers either rape Filipina women or torture Filipino soldiers and civilians, just to get what they desired. For me, they were heartless.
However, as I grow old, I learnt some of their practices and experience a bit of their culture while I am working for a Japanese company.
So, why give it a try this time?
After lockdown, this will be my first time to travel again abroad and I was thrilled! I booked my flight on the first week of January 2023 without having my visa yet. Yes, it was never part of the plan, huh?
Applying for Visa
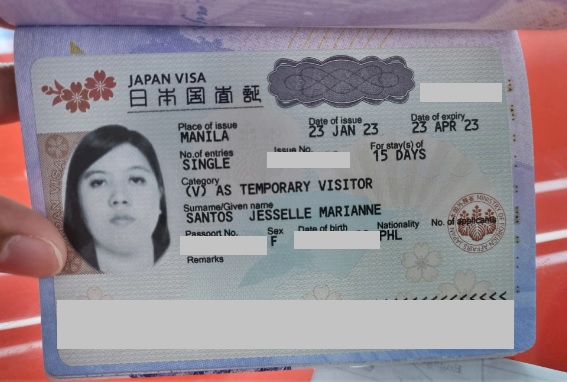
I applied for visa around 3rd week of January and my flight was on March 2023. With a bit of doubt if it will be approved, I applied for single entry visa via Attic Tours – SM Megamall Branch.

Here are the documents I prepared based on the current requirements from Japan Embassy for individual travelers.
- Philippine Passport, should be valid more than 6 months upon travel, it should be clean, no folds or stains
- Application Form with photo, make sure to write on it neatly or just like what I did, I submitted a computerized application form with my handwritten signature. If possible, application form should be clean, no folds or stains of ink. For me, I submitted it though with some stains of ink thus I was a bit worried if it will be accepted
- Birth Certificate released by PSA for less than 1 year. You may order it from here.
- Travel itinerary, you may use the sample from this blog site. Your travel itinerary may be changed once you arrived in Japan so do not make it too much comprehensive.
- Bank Certificate, I got mine from BPI.
- Photocopy of BIR 2316. I submitted 2 ITR from my previous and current employers for 2021 and 2022 since I do not have copy yet for 2023.
- Certificate of Employment, this is not required but I still submitted as there might be an advantage that I am working for a reputable and Japan’s biggest IT company.
- Cover Letter indicating my intent on why I want to travel solo in Japan and explaining why I submitted ITR from different employers. This is not required yet I still submitted it.
- Photocopy of my old passport. This is also not part of the requirements, but since my 10-year passport has fewer stamps, it will be more appropriate to show how many times I flew outside the country. Just a bit of proof that I have good travel record.
These requirements are for individual travelers only for single entry purposes. If you are married or supported by an individual or a family member when you travel to Japan, there will be additional requirements to submit.
Please note that Japan Embassy have accredited travel agencies to process visa requirements. You cannot visit the embassy directly (just like what I wanted to do to minimize my travel cost haha) and apply for visa. Travel agencies visa processing rates from Php 900 to Php 1, 700. For Attic Tours, they charged me Php 1,200 and I never regretted it!
If you wanted to make sure that you will not waste airfare or hotel cost, you may opt first to process your visa. It will definitely save your pocket and worries. However, for me, I booked my flight first (sayang seat sale eh! hahaha) then I processed my visa. A confident move, eh!
I submitted my requirements to Attic Tours on a Saturday and I got their response that I was approved on a Tuesday! That was very quick and convenient.
Philippine Immigration Officer Story
In all my solo travels abroad, it was always an easy peasy pass for me. And travelling to Japan was more of the same experience. I am just adding this part in my blog to let everyone knows that if your requirements are complete and nothing to hide about your travels, why do you need to worry?
IO: Nag-apply ka ng visa na nauna yung booking ng flight mo?
Jess: Opo (with a big smile)
IO: Confident mo Ma’am ha! Babalik ka po ha, ang ganda ng travel record mo, eh.
Jess: Of course naman po! 😀
Again, easy peasy! Approved!
Blessed and lucky, there was no IO Horror Story for me! 😀
Entering Japan
Since Covid-19 pandemic alerts were lifted, we are almost free to travel anywhere. However, there might still be little restrictions that need to be abided.
Before I left Philippines, I scheduled an appointment with the Bureau of Quarantine to have my yellow card. It is just like a vaccination card indicating if you are fully vaccinated against Covid-19. It was not part of the requirements to enter Japan but to make sure, I still went to my appointment.
Japan’s requirements are actually to have Immigration and Customs Declaration QR codes. Once I arrived at the airport, Immigrations Staff asked for the Immigration QR Code, without this, you cannot proceed to the Immigration Counters. As for me, a dumb me, I realized that my travel sim was not yet inserted on my phone and I do not have internet to access my account. I just realized after 10 minutes that I saved a screenshot of the Immigration QR Code on my phone. Huhu! Haha!
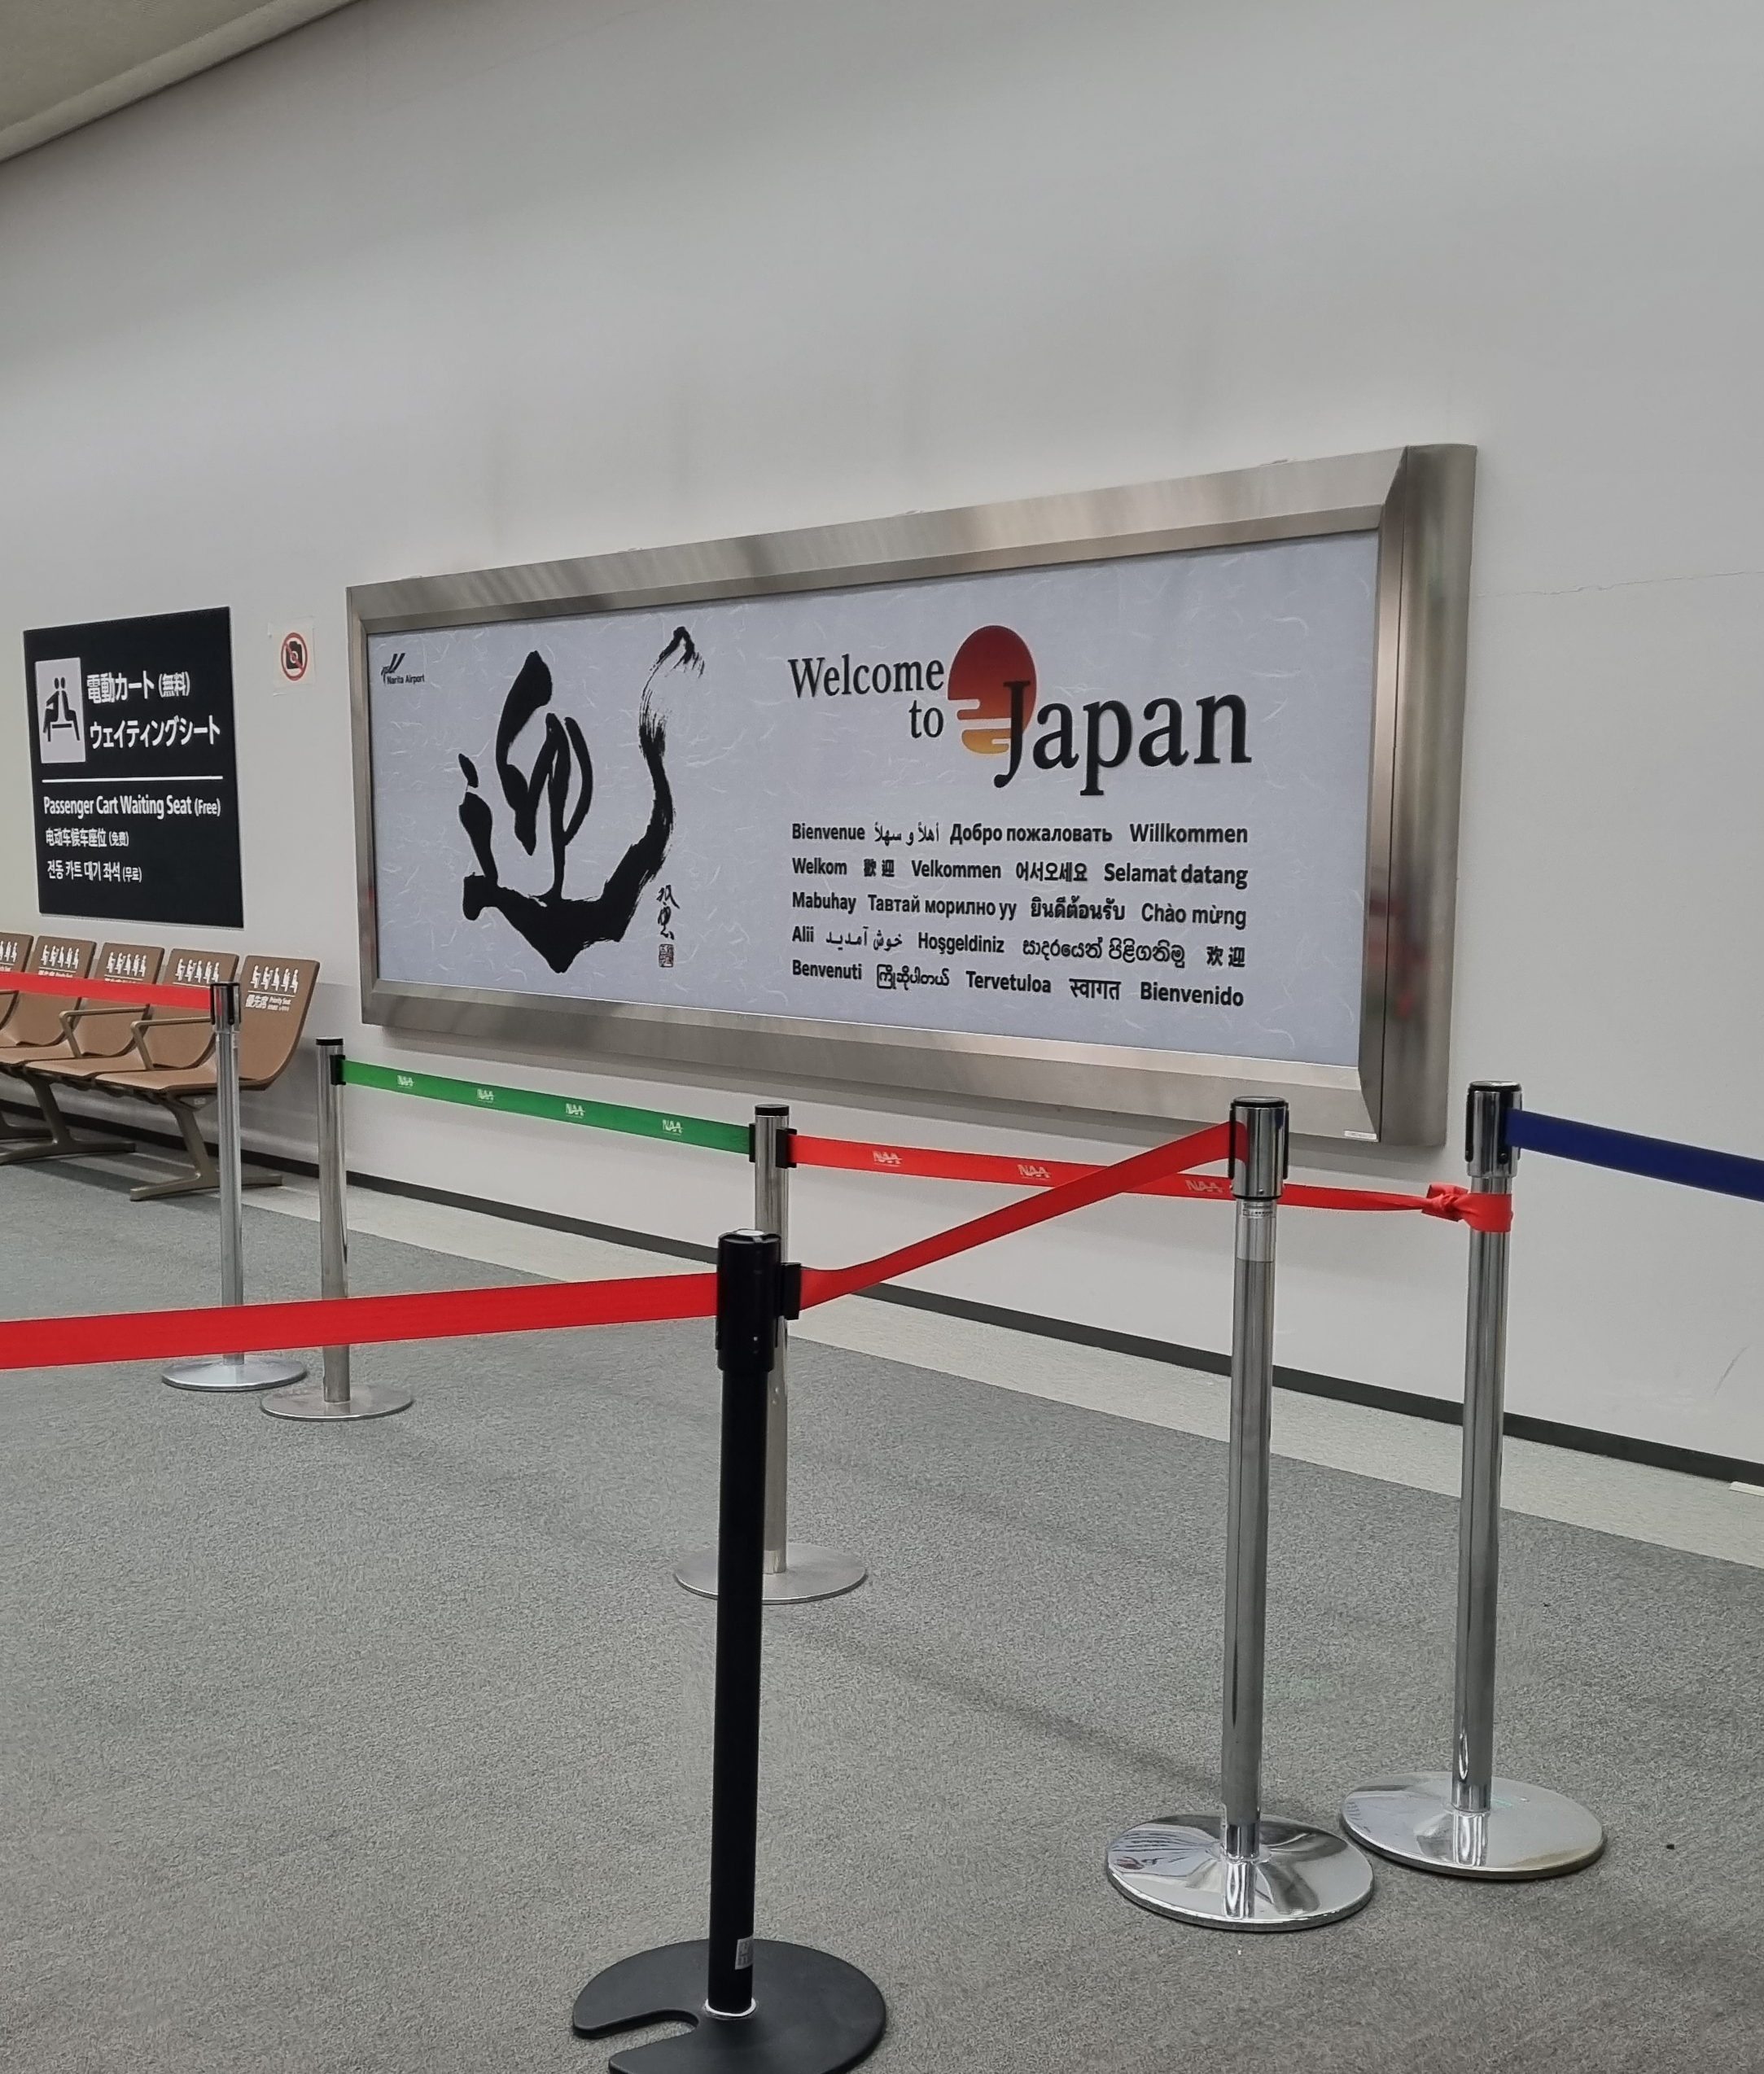
After the swift pass at the Immigration Counter (they do not ask too much information, when they saw my visa, they just let me be in-front of the camera to take biometrics), another Immigration Staff asked for the Customs Declaration QR Code. I provided it to him immediately. Viola! Just like that, I entered Japan successfully!
Transportation to and in Japan
For the airfare, I booked a Cebu Pacific flight from Manila to Tokyo. For my exit, I booked Osaka to Manila. With this, I was able to travel around with no worries of returning to my entry point.
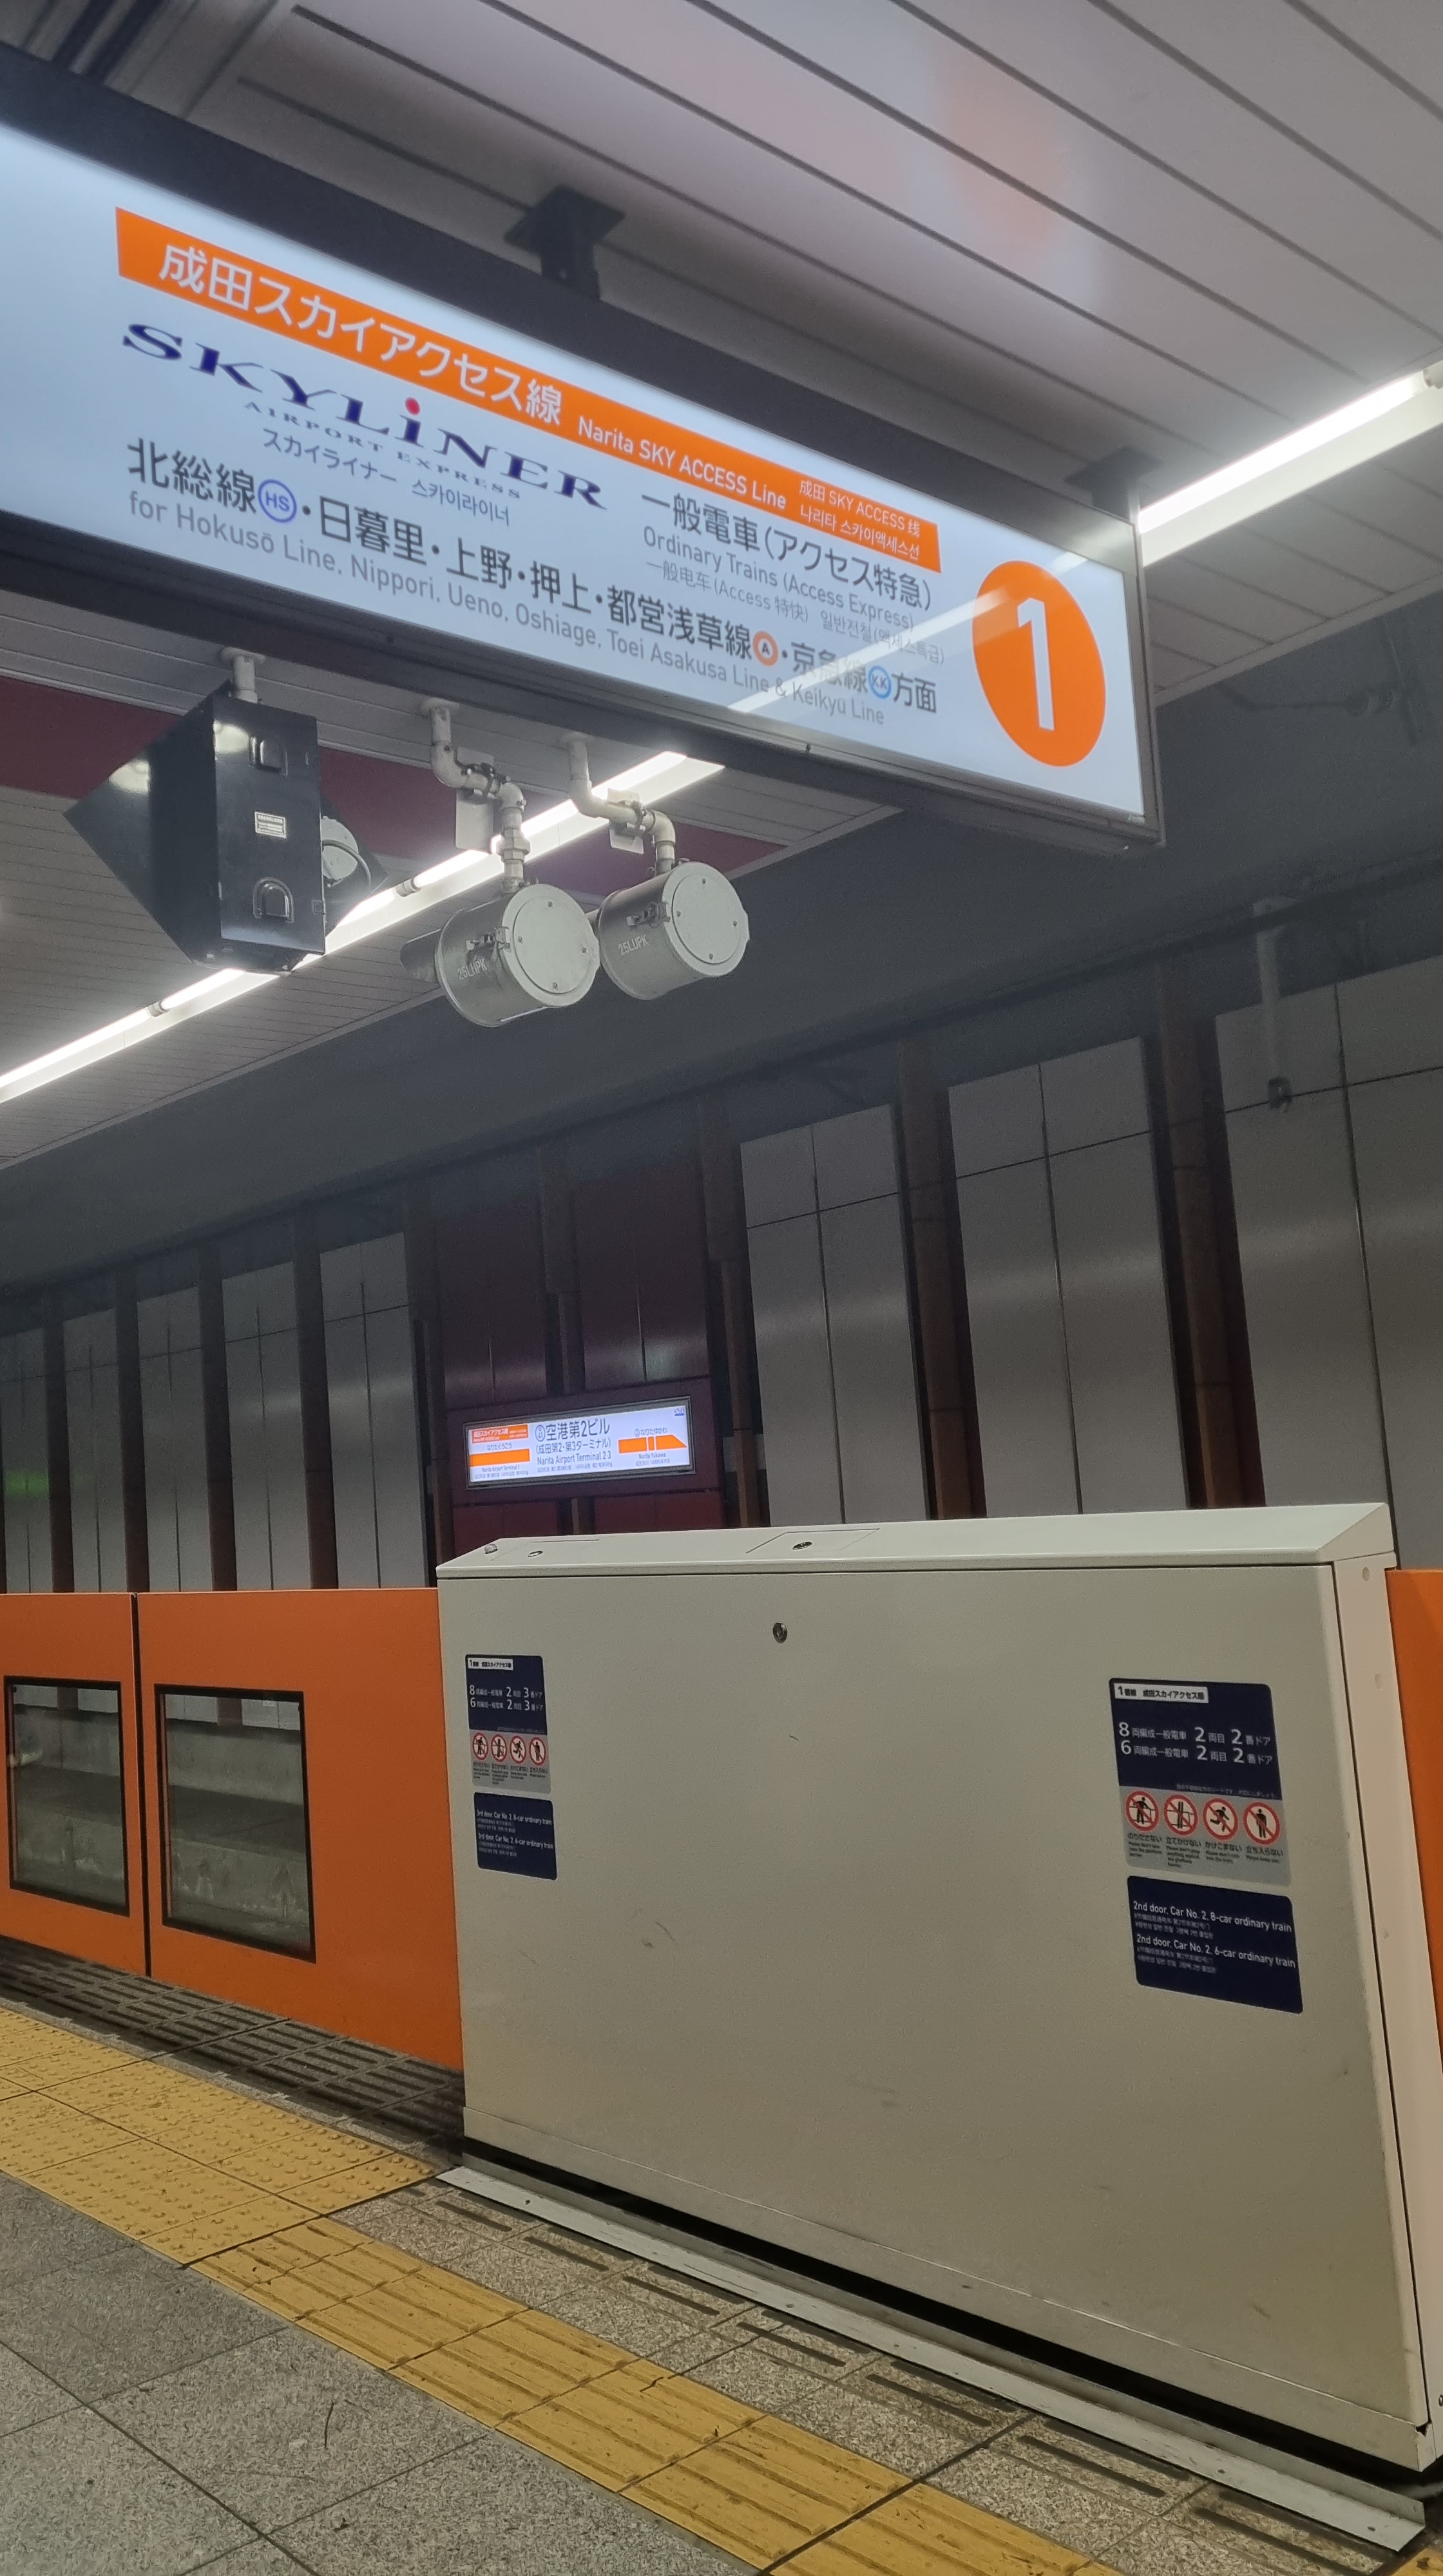
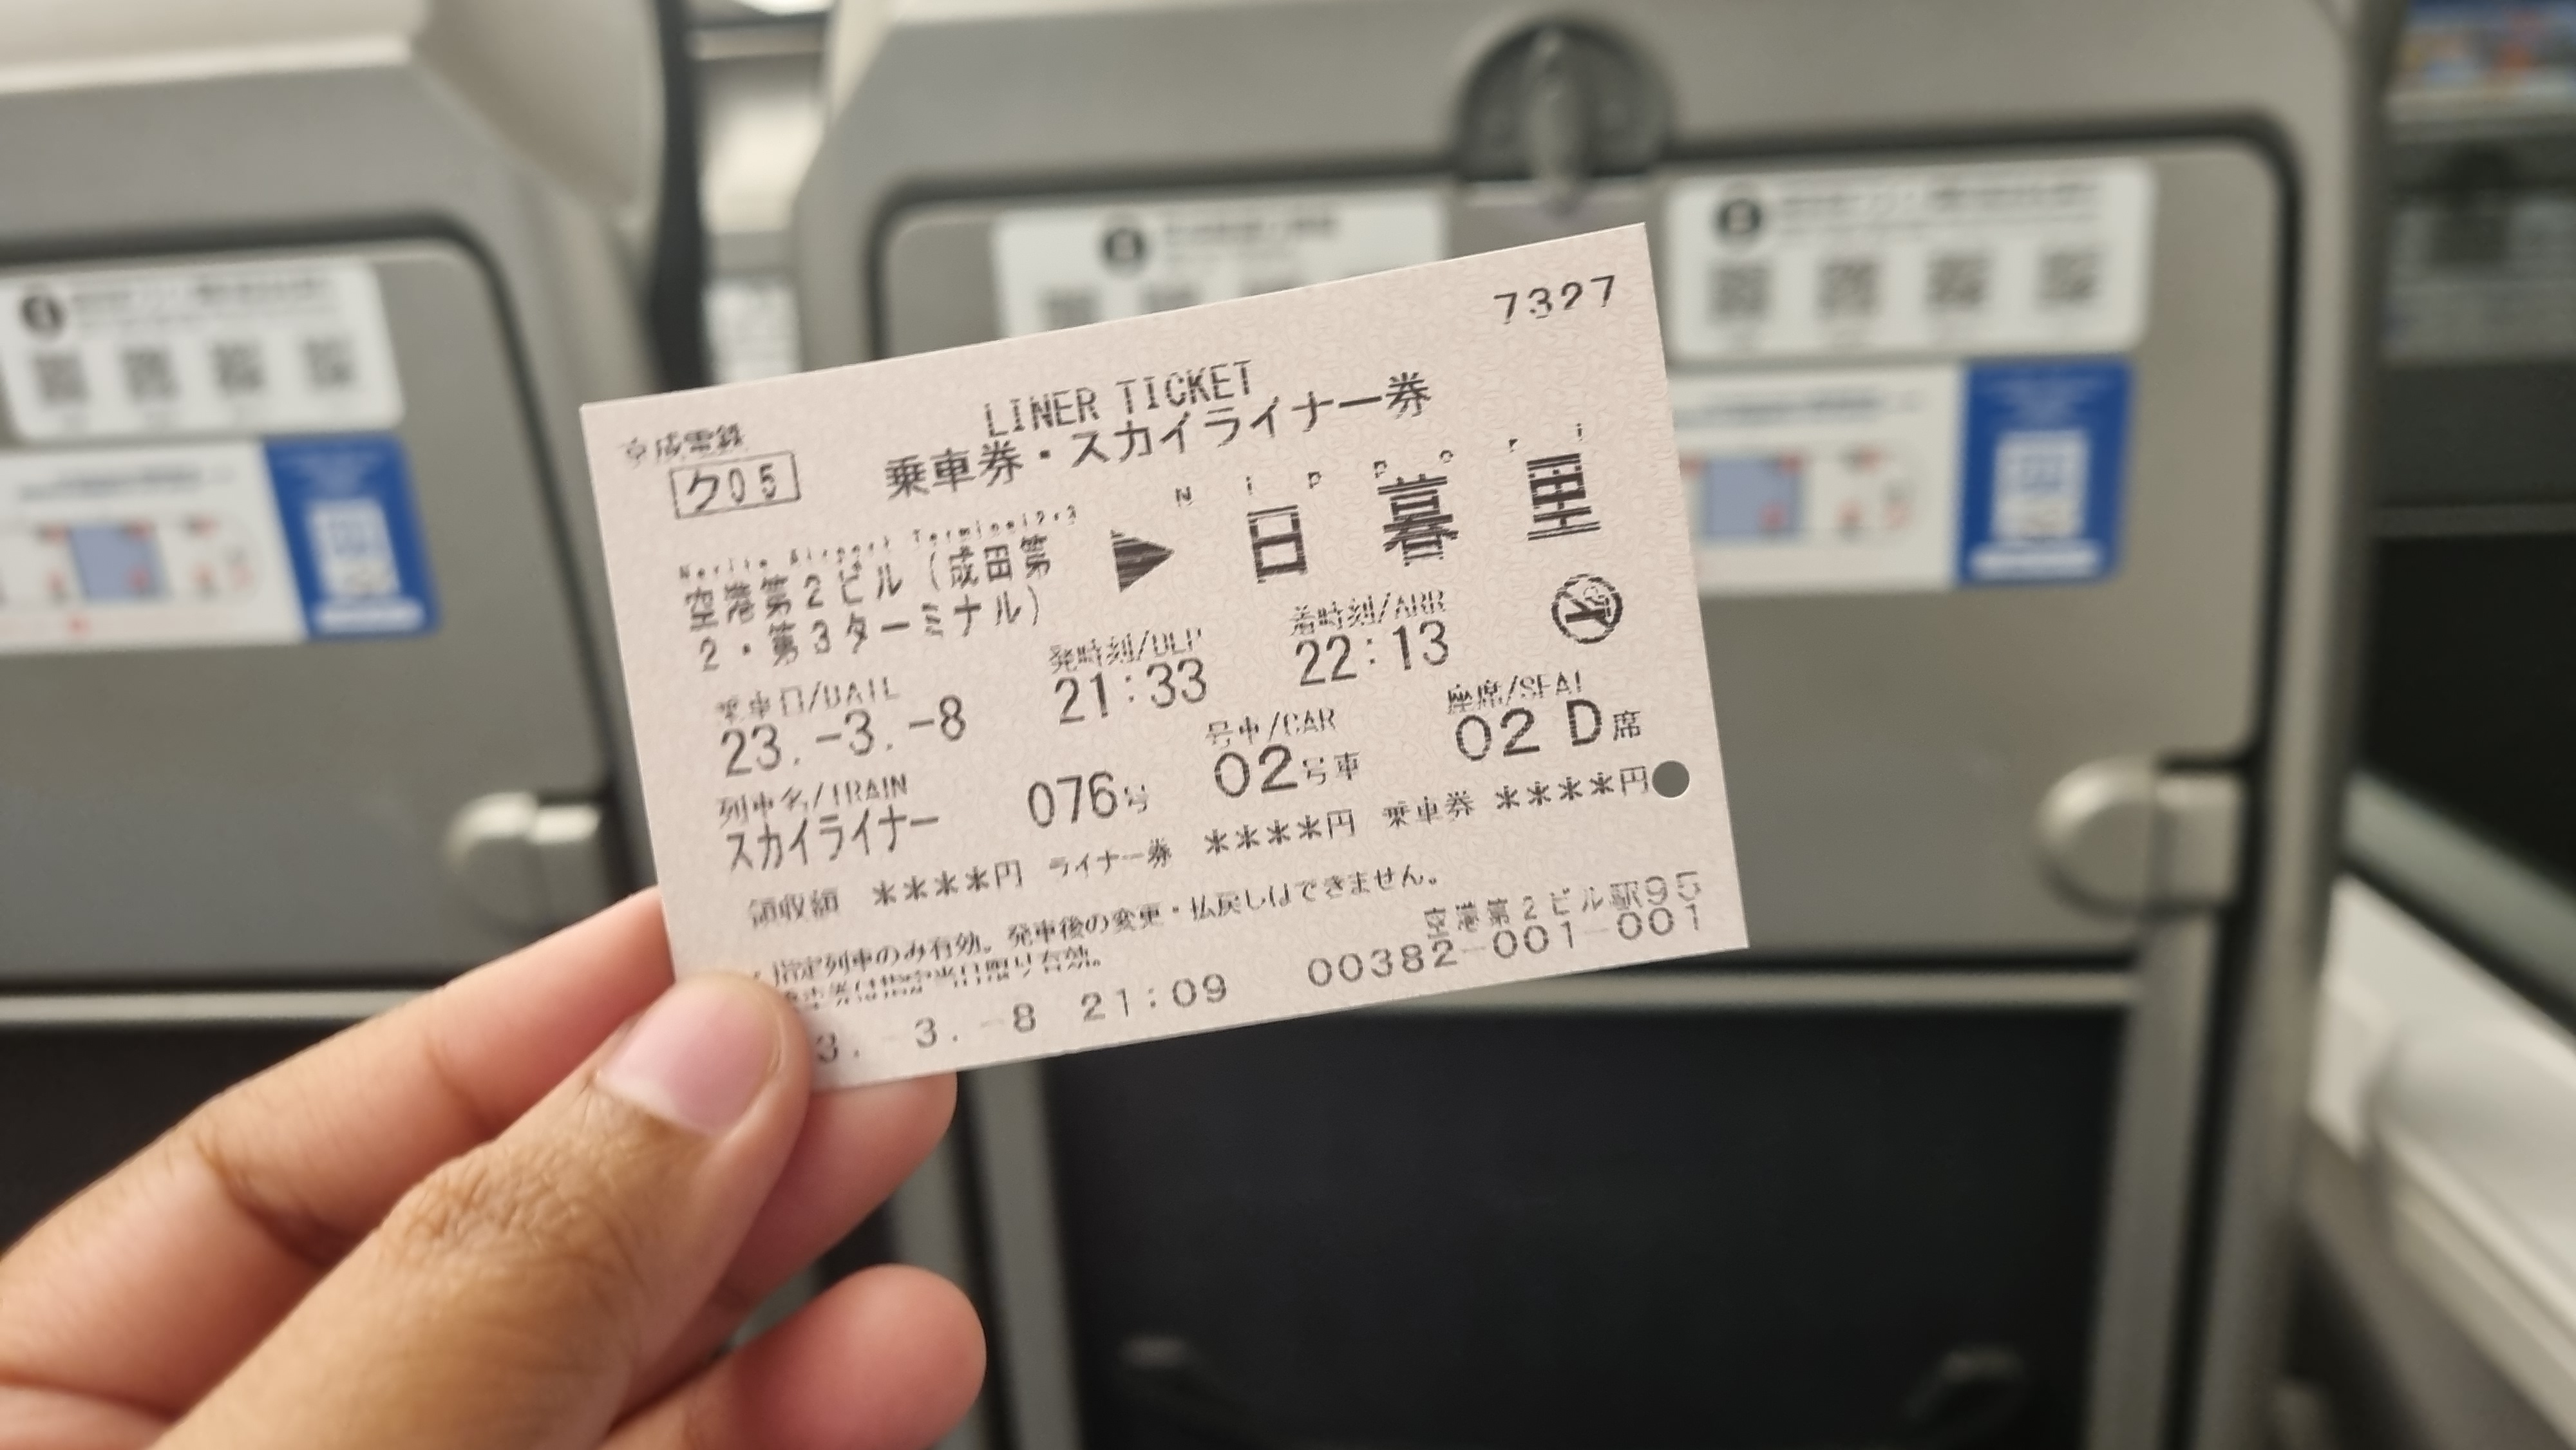
My flight was at night and a bit late (at least for me, this is late haha). I arrived in Tokyo before 8PM. I pre-booked a one-way Skyliner train from Klook, I was a bit hesitant if I can still make it with the Skyliner as the other Filipinos that were on the same flight were in a hurry to not miss the trains. It felt like there was a marathon at the immigration and airport itself. Luckily, when I arrived at the vending machines to claim my Skyliner pass, I was on time and there is still 2 schedules next. It was a 40-minute travel from Narita Airport to Tokyo center. Please make sure to ride on the correct schedule and train number.
In Tokyo, included on the Skyliner pass that I purchased, was a 72 hour unlimited subway train pass. Please note that trains in Tokyo was really confusing and believe me, it was! I always plan my travels and for this Japan travel, it was the most difficult to plan! Tokyo Metro and Toei Subway lines have different vending machines apart from the JR Lines. So please ensure to check the voucher instructions if you will purchase from Klook. You may also ask the assistance of the trains staffs and definitely they will guide you. I also purchased a 24 hour subway train as I thought that the 72 hours will not be enough. Sadly, I haven’t used it. So, if you have tight budget, please calculate your time wisely. Also please prepare yourself for the long and winding walks that you will endure in Tokyo! It was indeed tiring yet fulfilling!
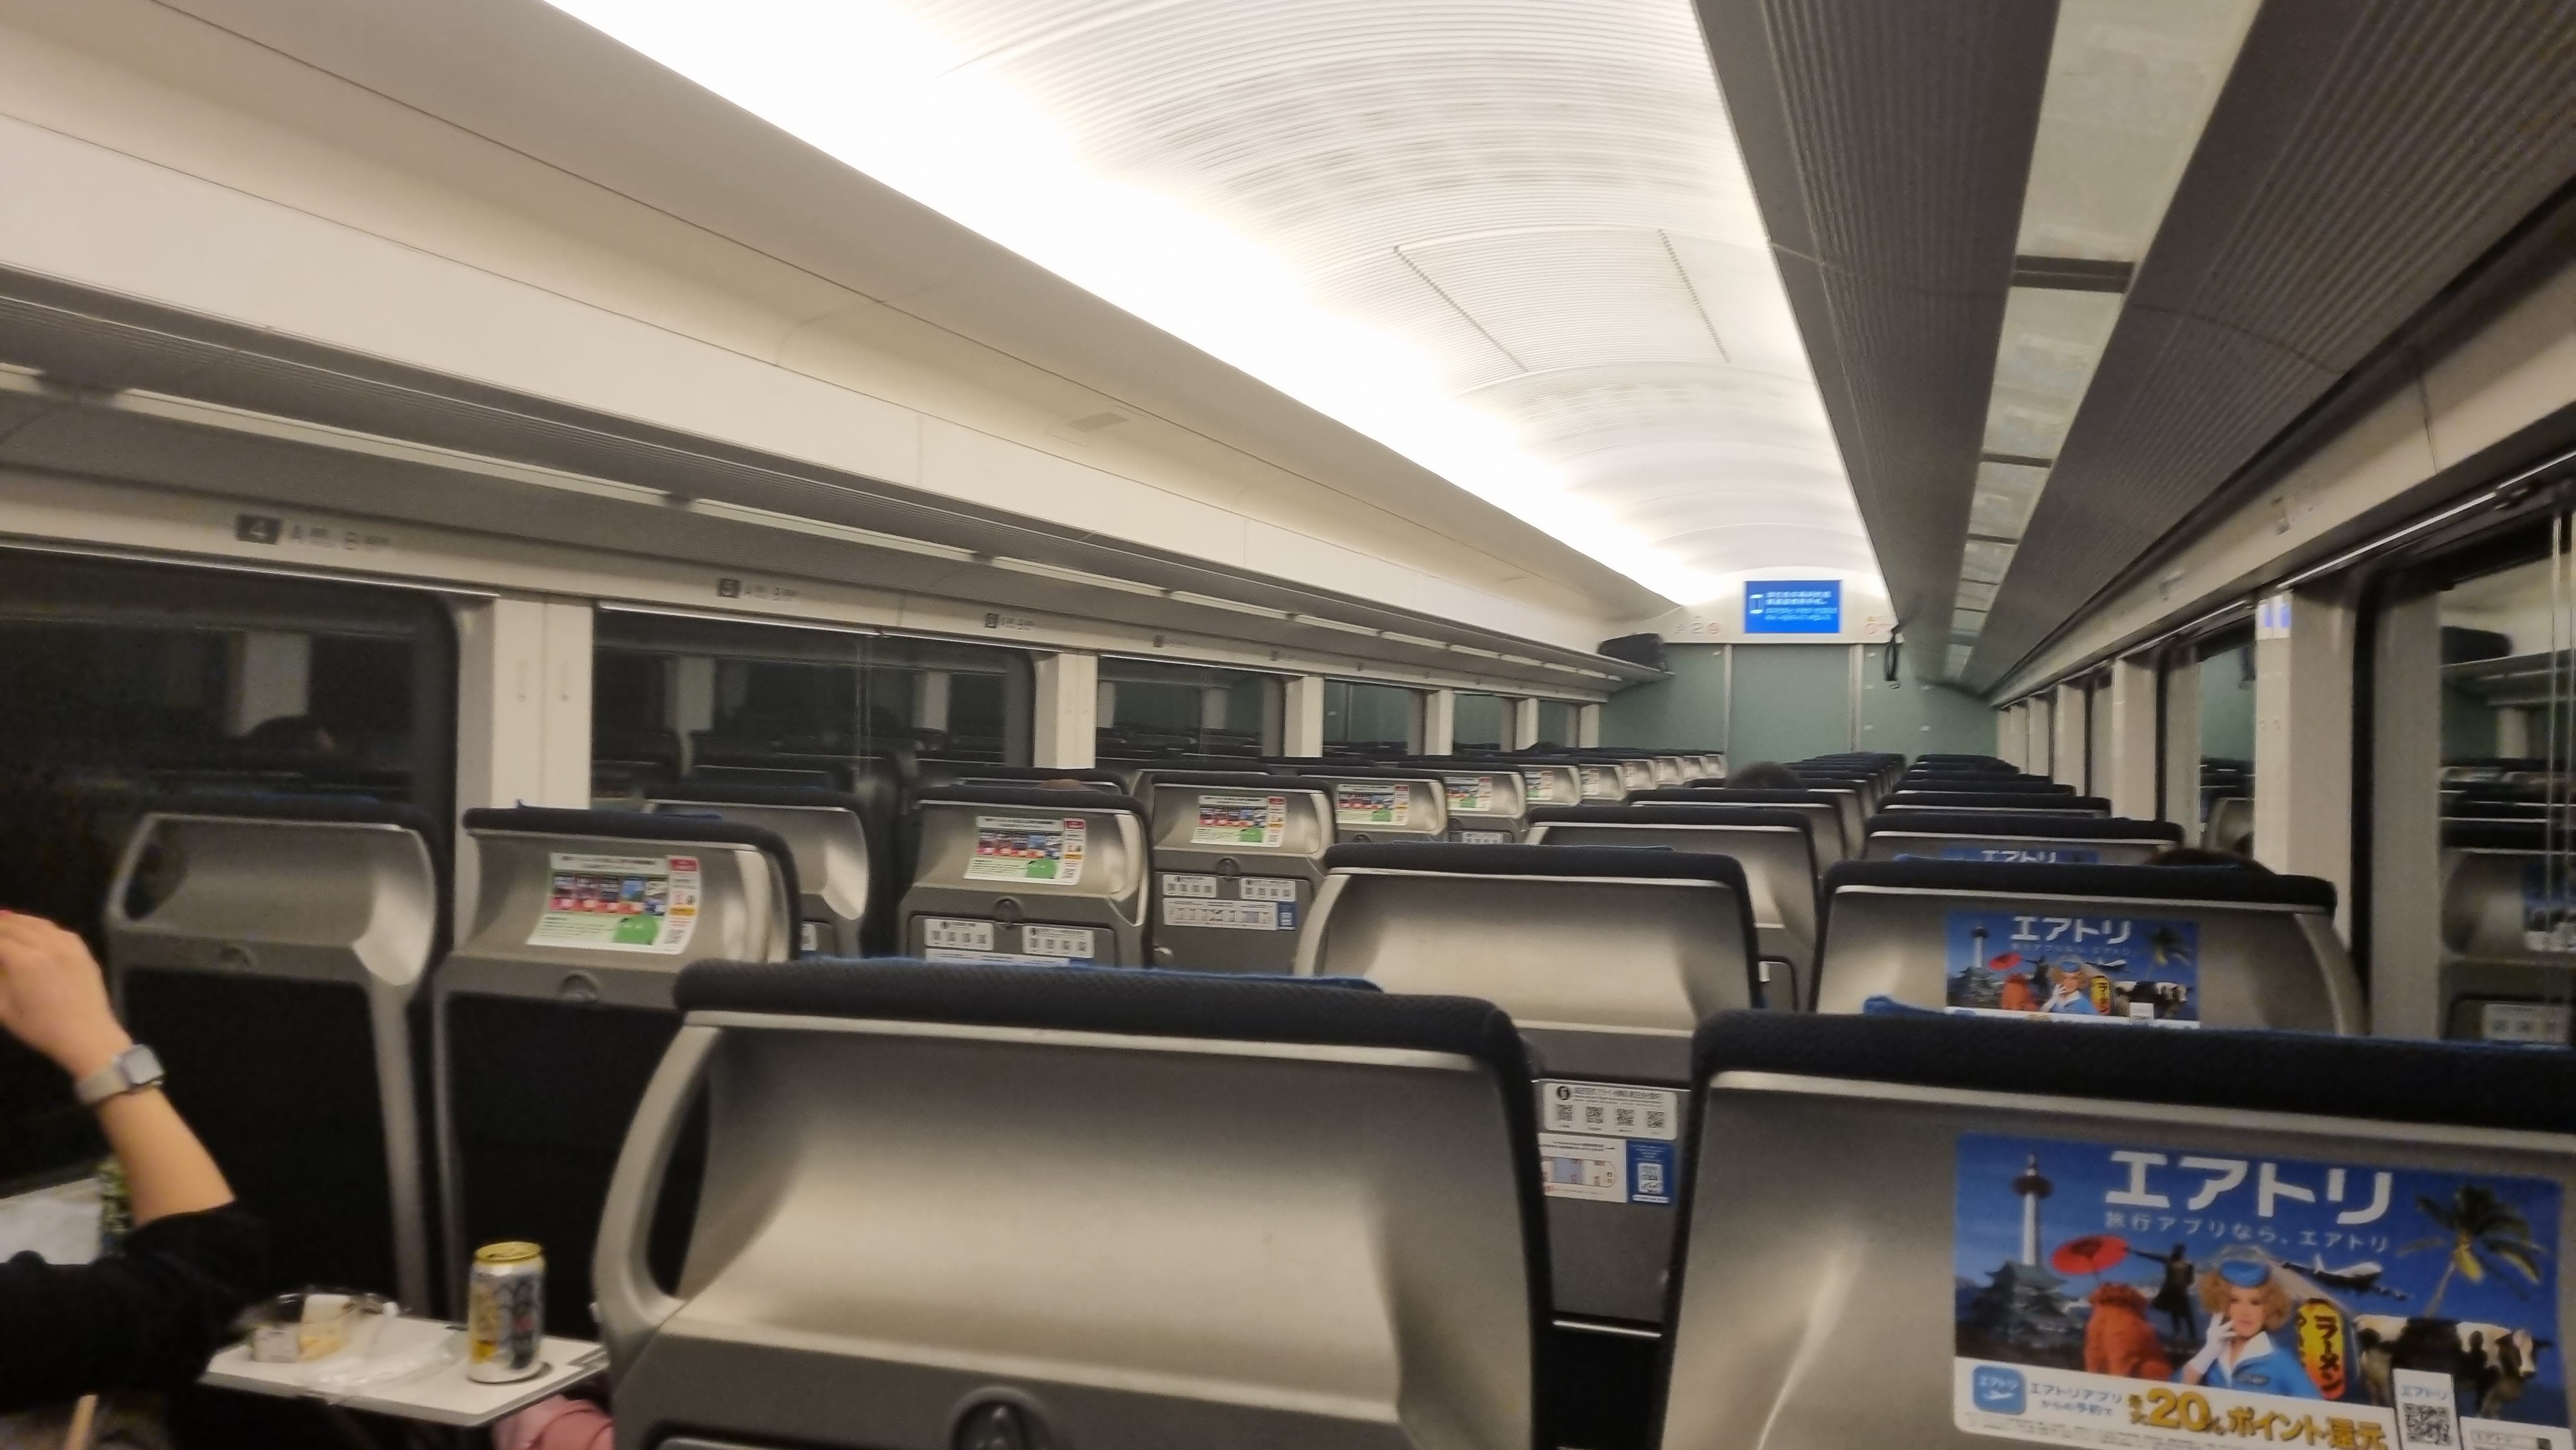
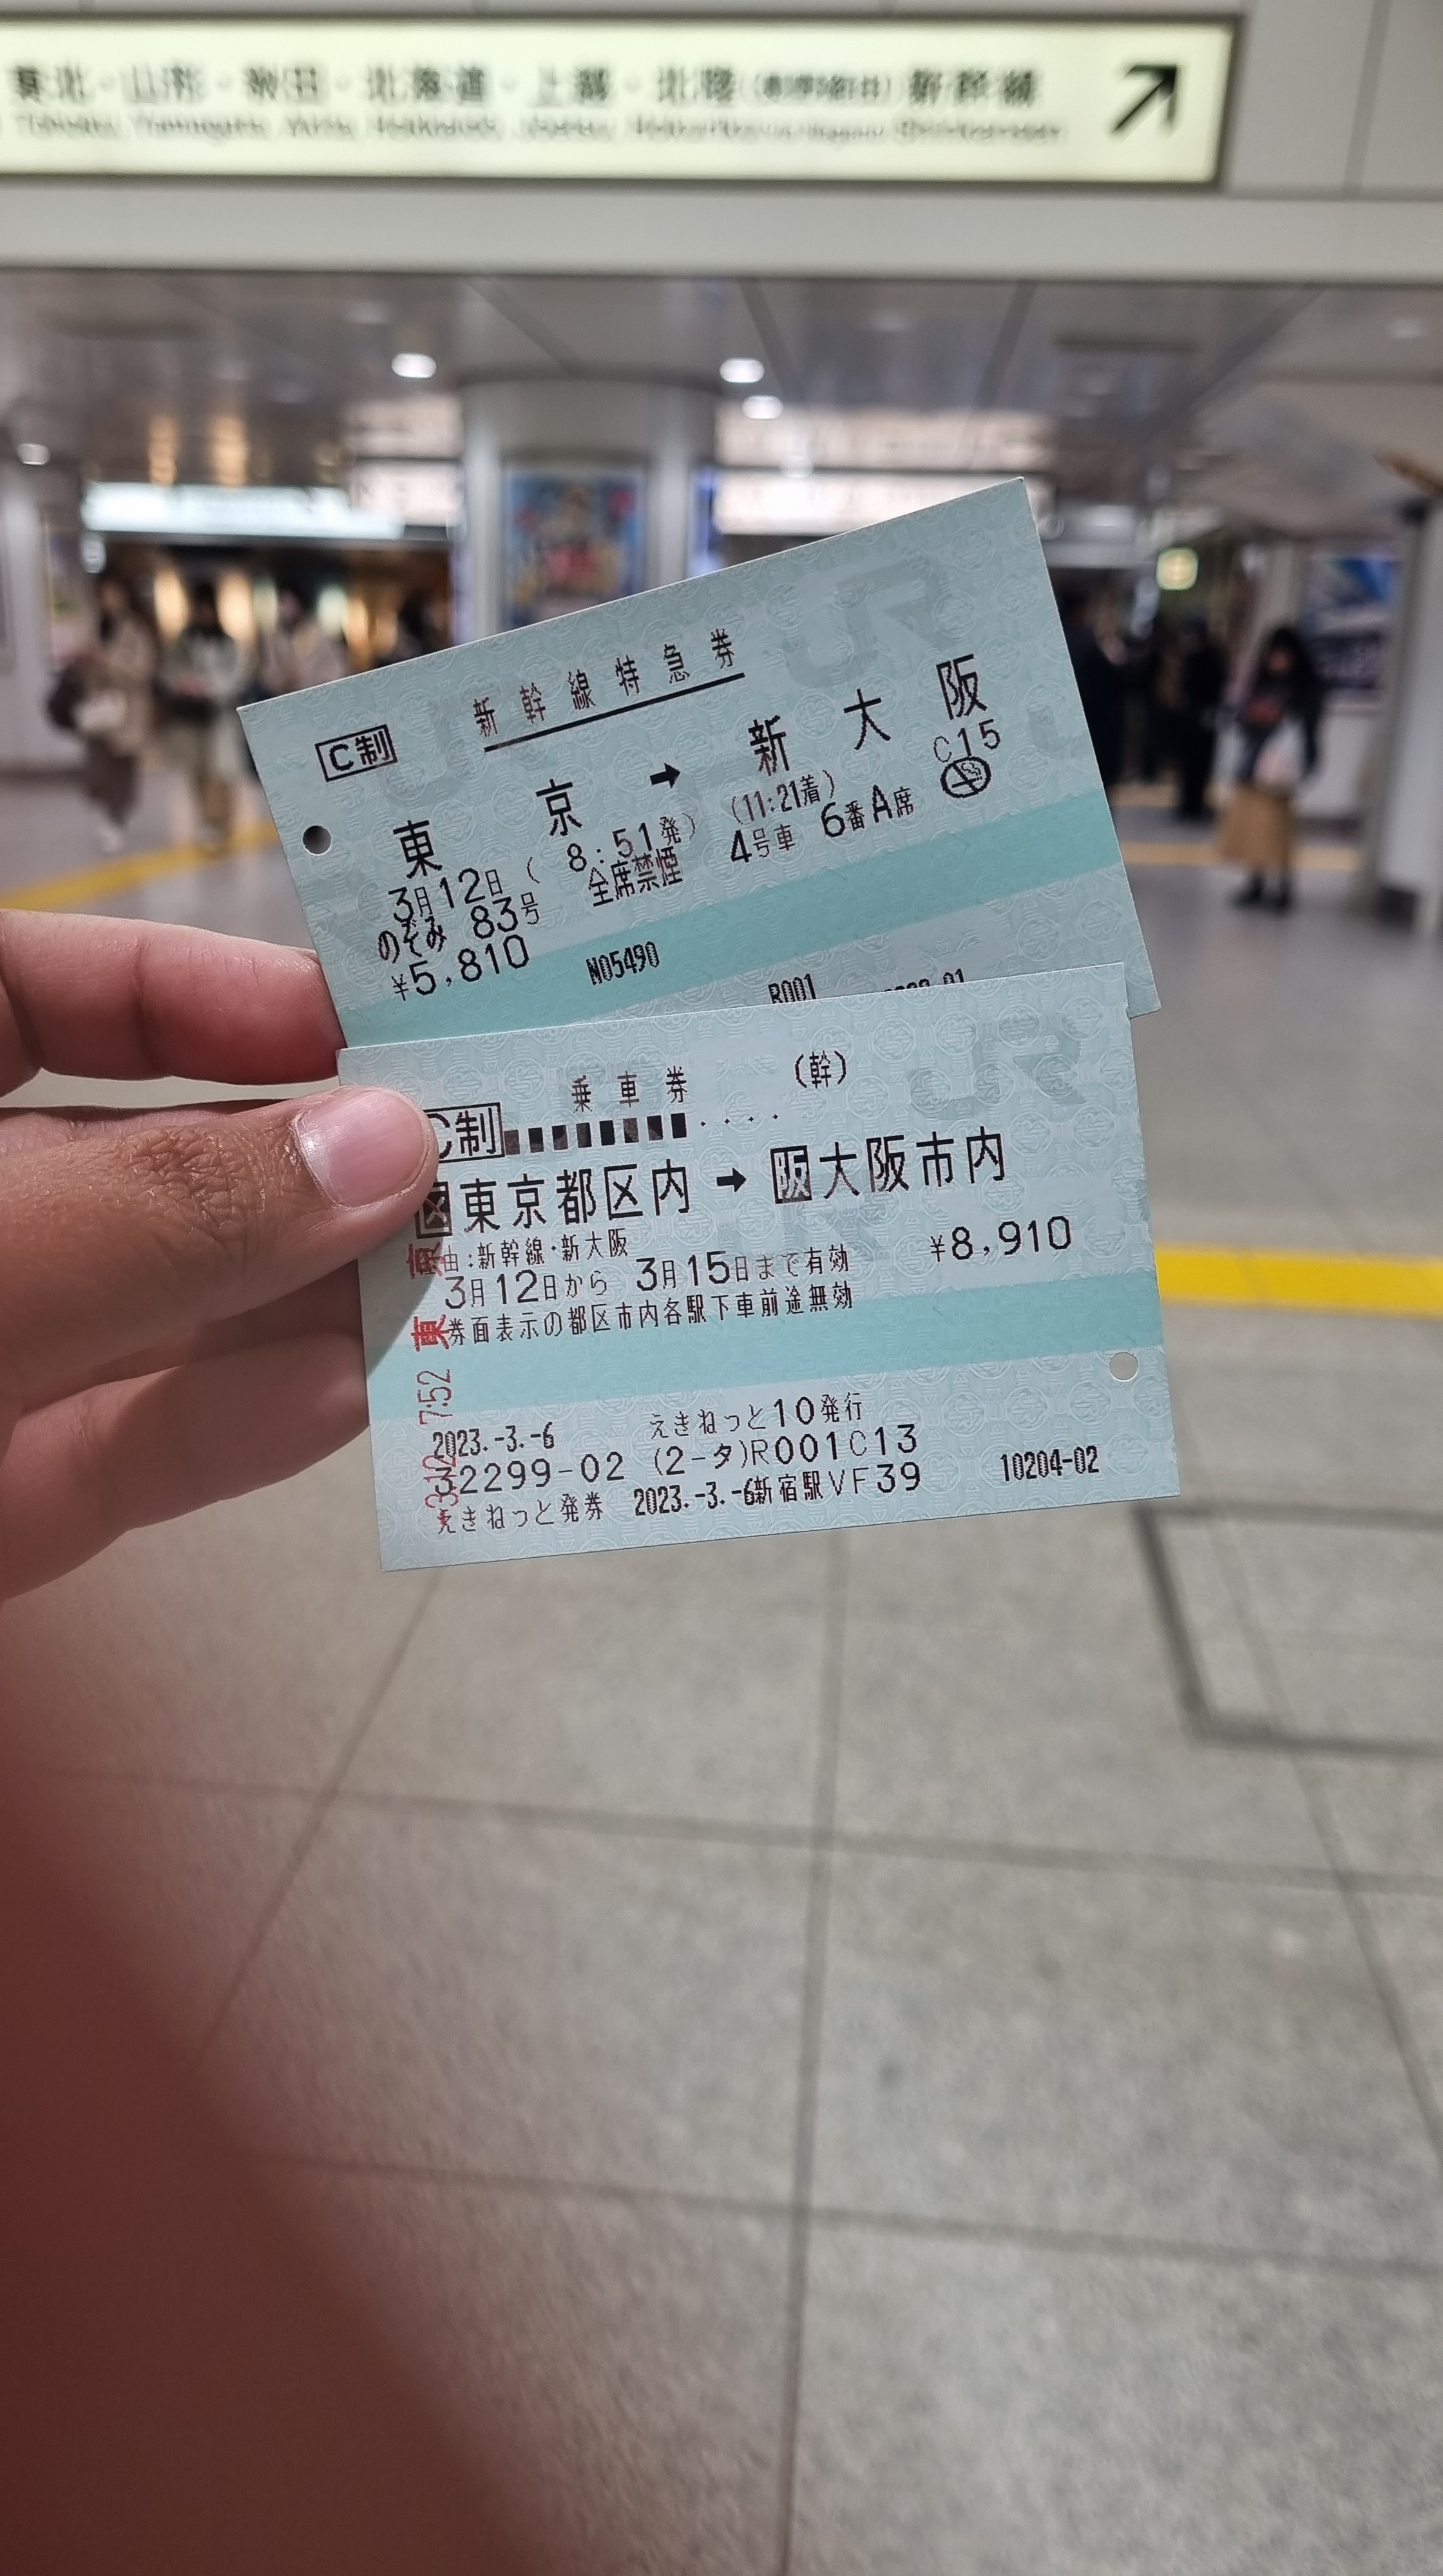
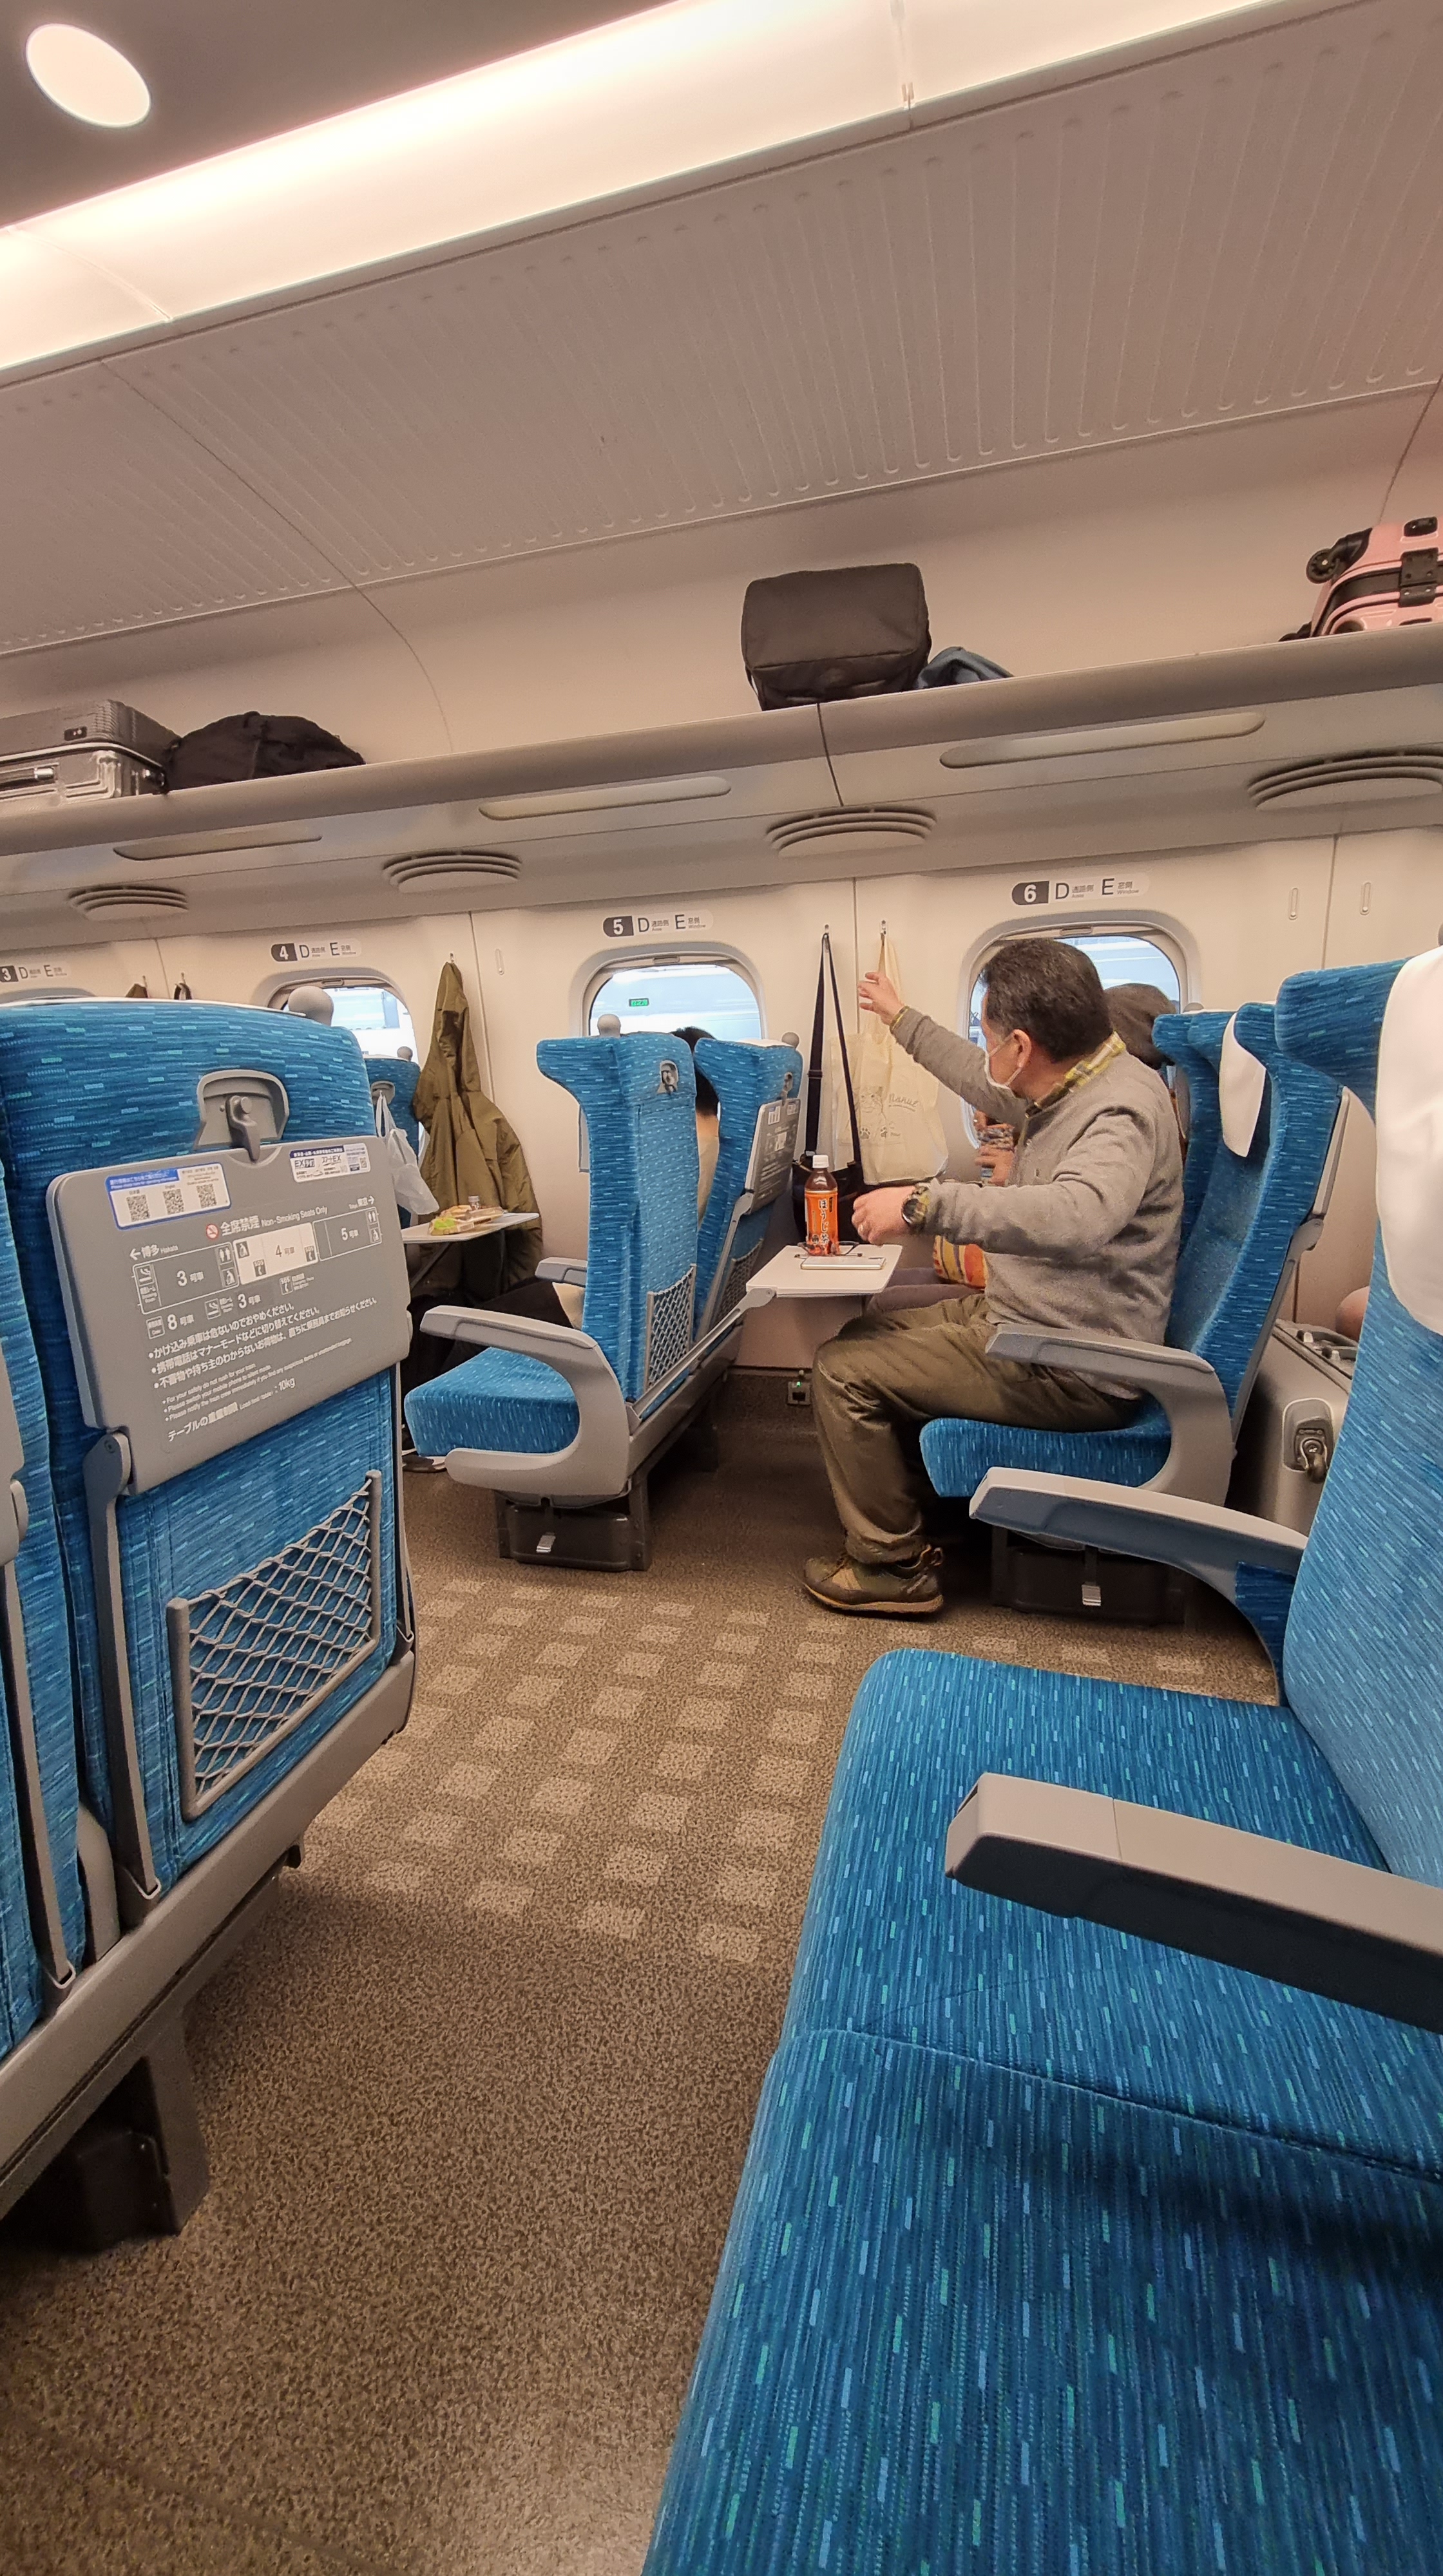
Going to Osaka, I booked a Shinkansen or Bullet Train in Klook. They delivered my train passes to my hostel in Tokyo. Do not be confuse to receive 2 tickets as you will need it upon entering the train stations. Tokyo to Shin Osaka will take 2 hours and 20 minutes. Please be on time else you will waste the expensive bullet train pass. For me, I arrived more than 2 hours at the station. And good thing I did it else I will end up at the incorrect platform.
In Osaka and most of Kansai – Kyoto and Nara, I pre-booked a JR Kansai Wide Area Pass in Klook. It was an unlimited train pass for 5 days. Since I haven’t completed my planning in Kansai area, which will comes first in my itinerary, it was a convenient to use this pass. Also, you can access Kobe and Shinkansen to Kansai International Airport using this pass.
Osaka Center Subway train passes are more expensive in Tokyo. I cannot see online or in Klook if they have promo same as the Tokyo Metro and Toei Subway. So I availed the unlimited passes that the train stations offered. They have sometimes train passes unlimited for the weekend and just for a whole day. Sometimes, I just bought one-way ticket depending on my destination. However, for me, I like the Osaka train lines better than in Tokyo. It is way less complicated! 😀
Aside from trains, you can travel in Japan via taxi. However, this is very expensive specially when you will travel alone. So bear the pain of your feet or just go lux!
Hotel Accommodations
For the 11-day travel in Japan, I booked 2 hostels both for Tokyo and Osaka. The hostels I booked are actually a bit not in the center of the cities but at least were convenient to access as both of it were near train stations.
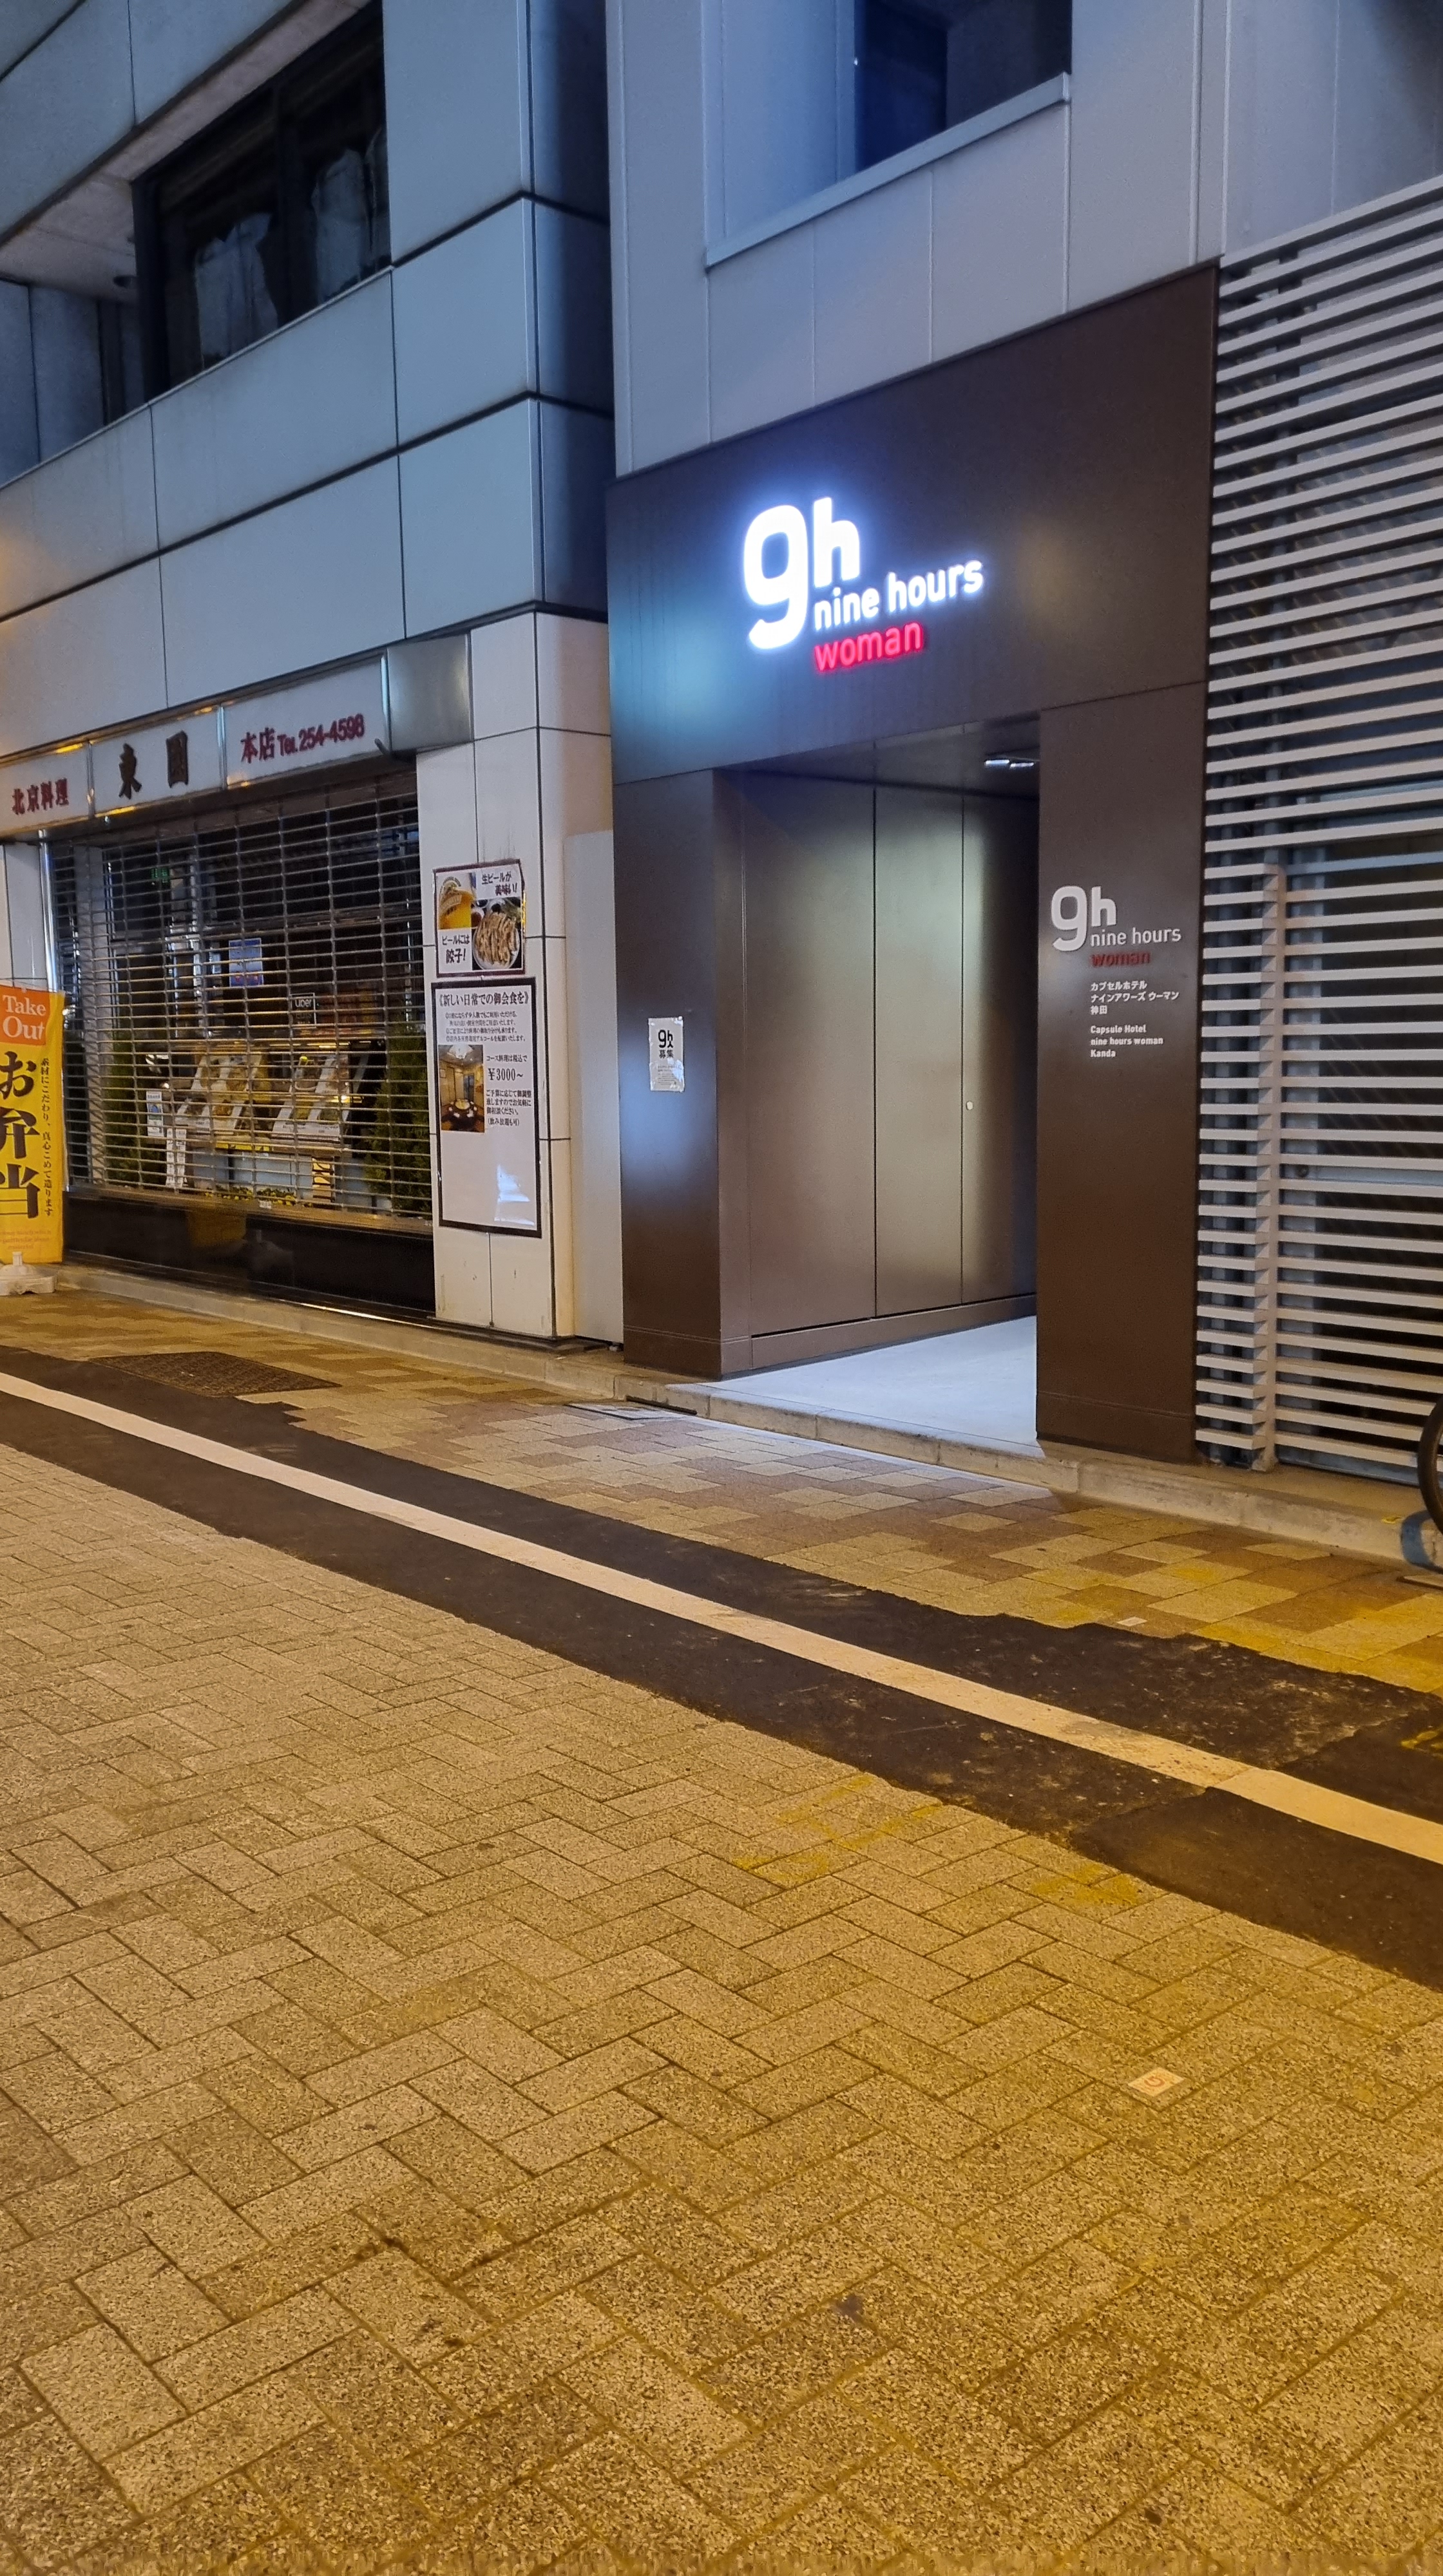
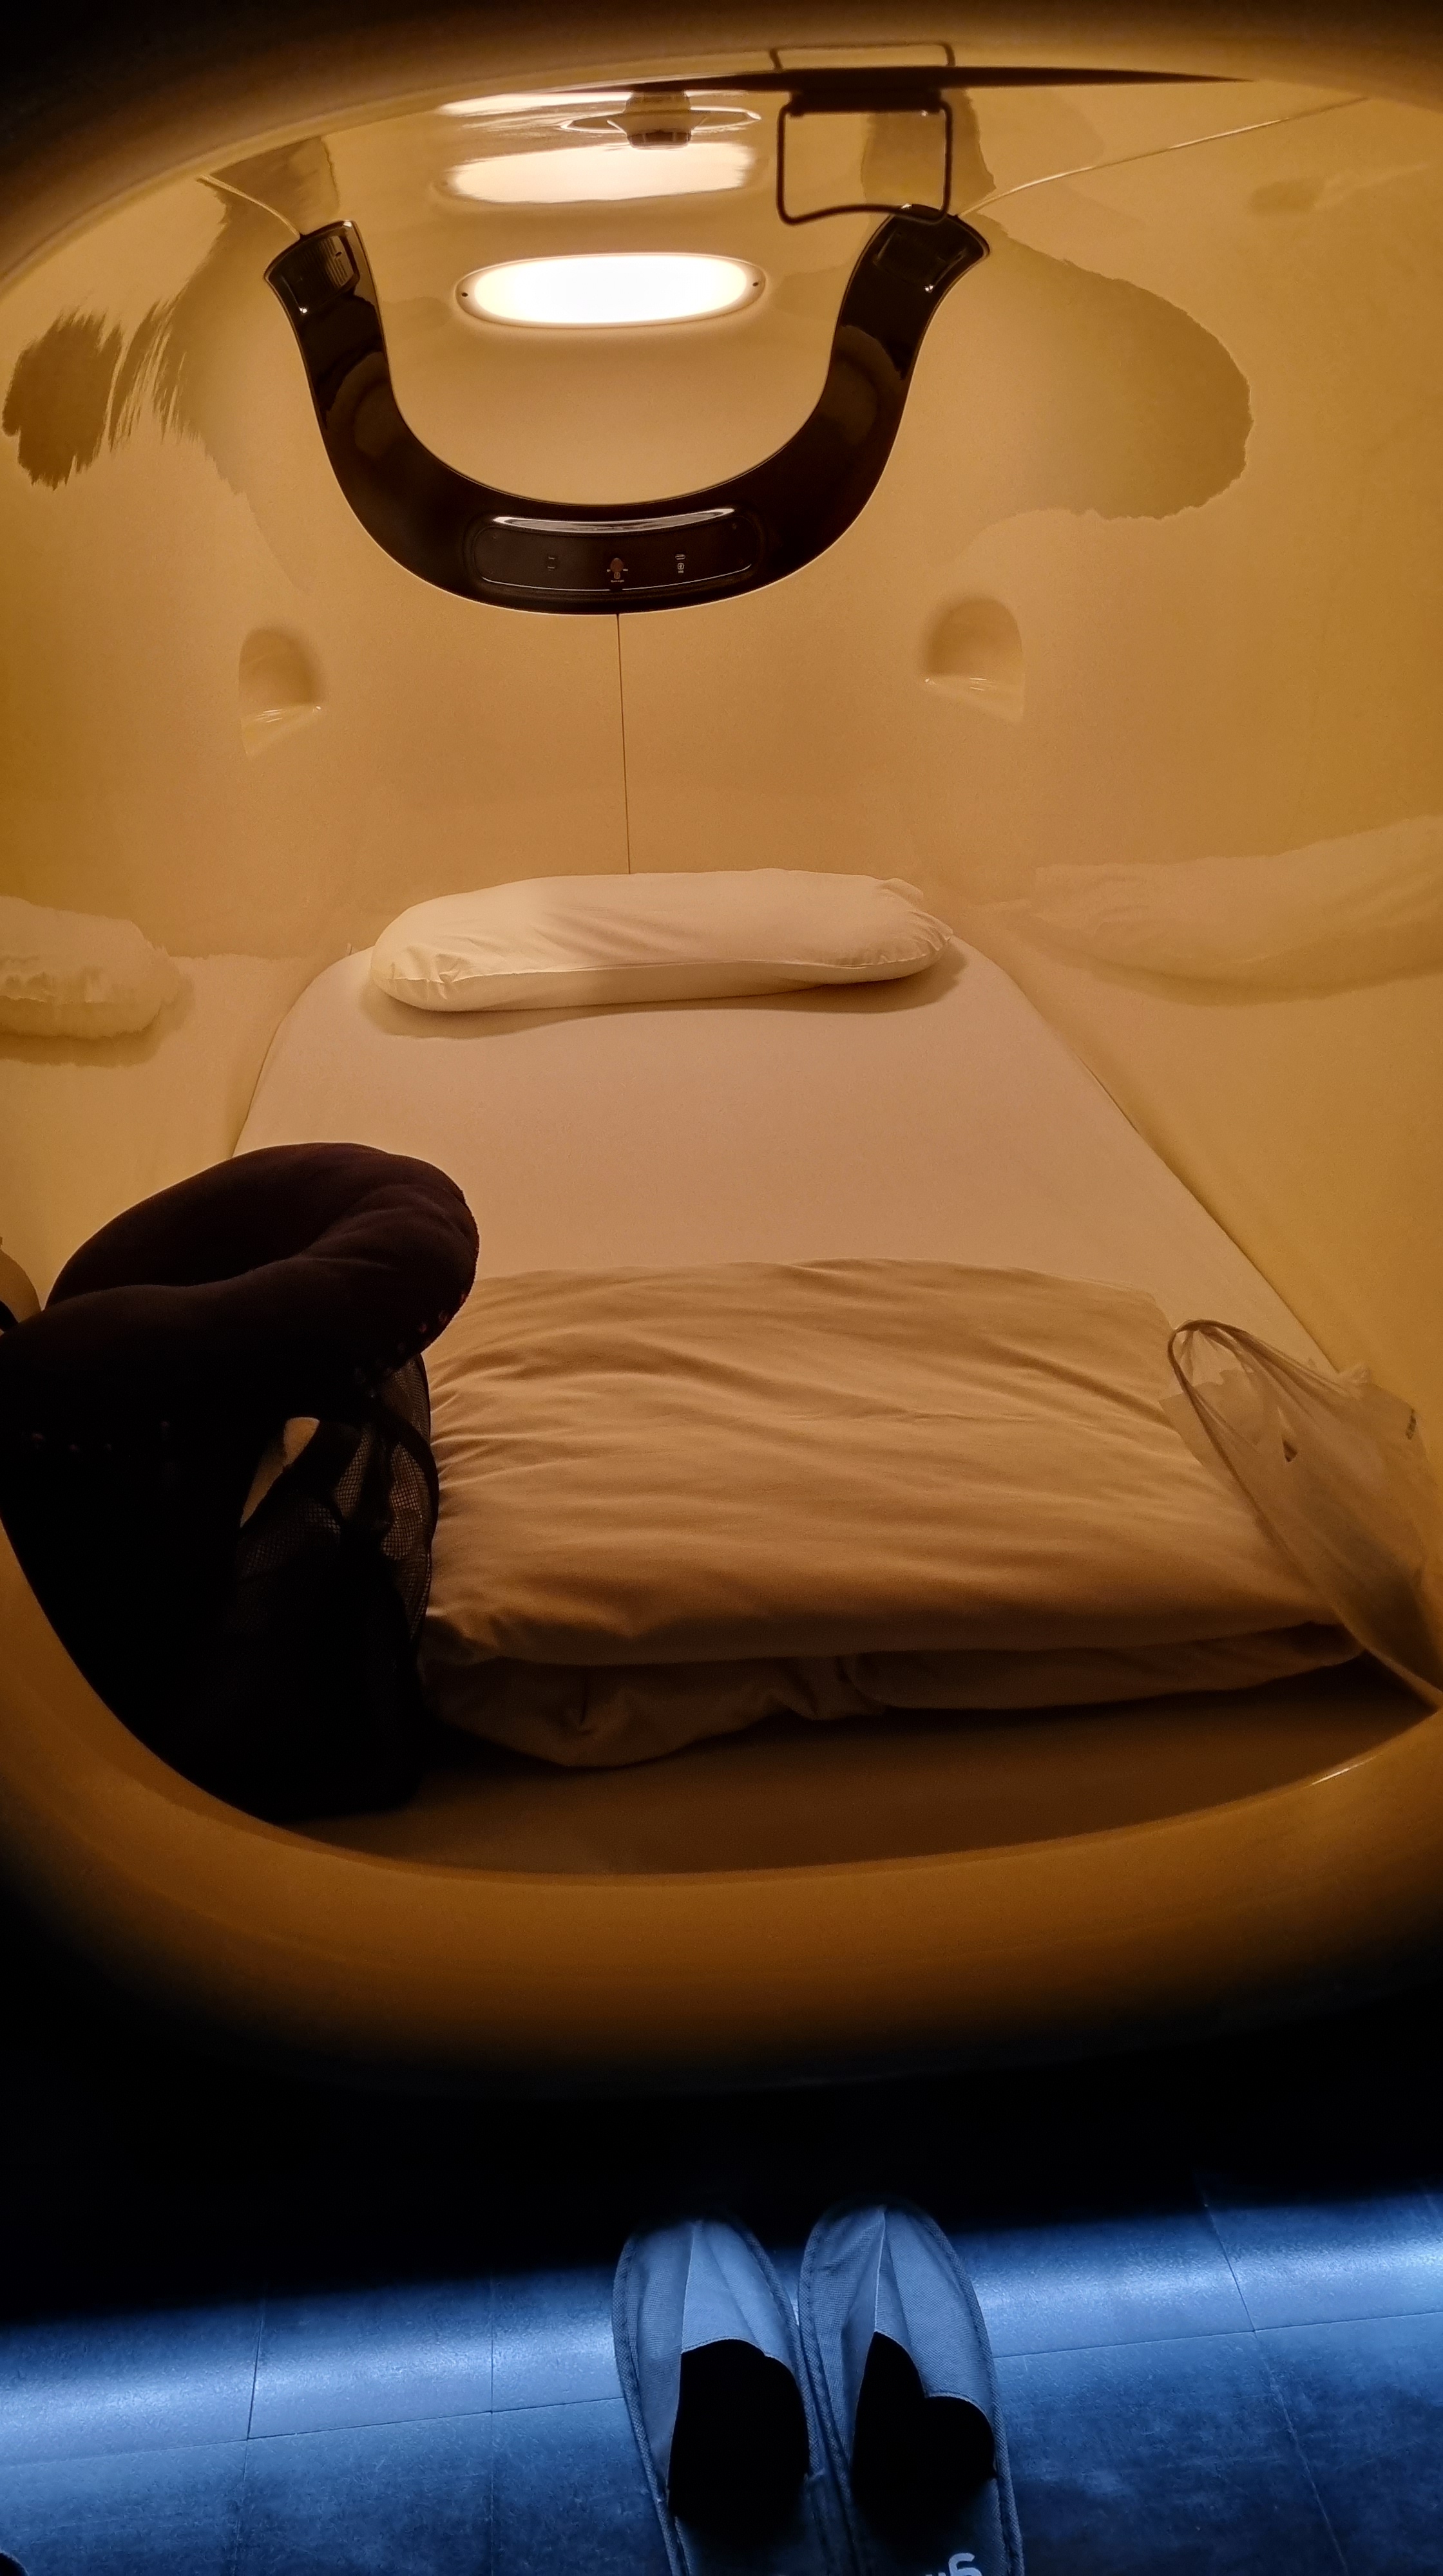
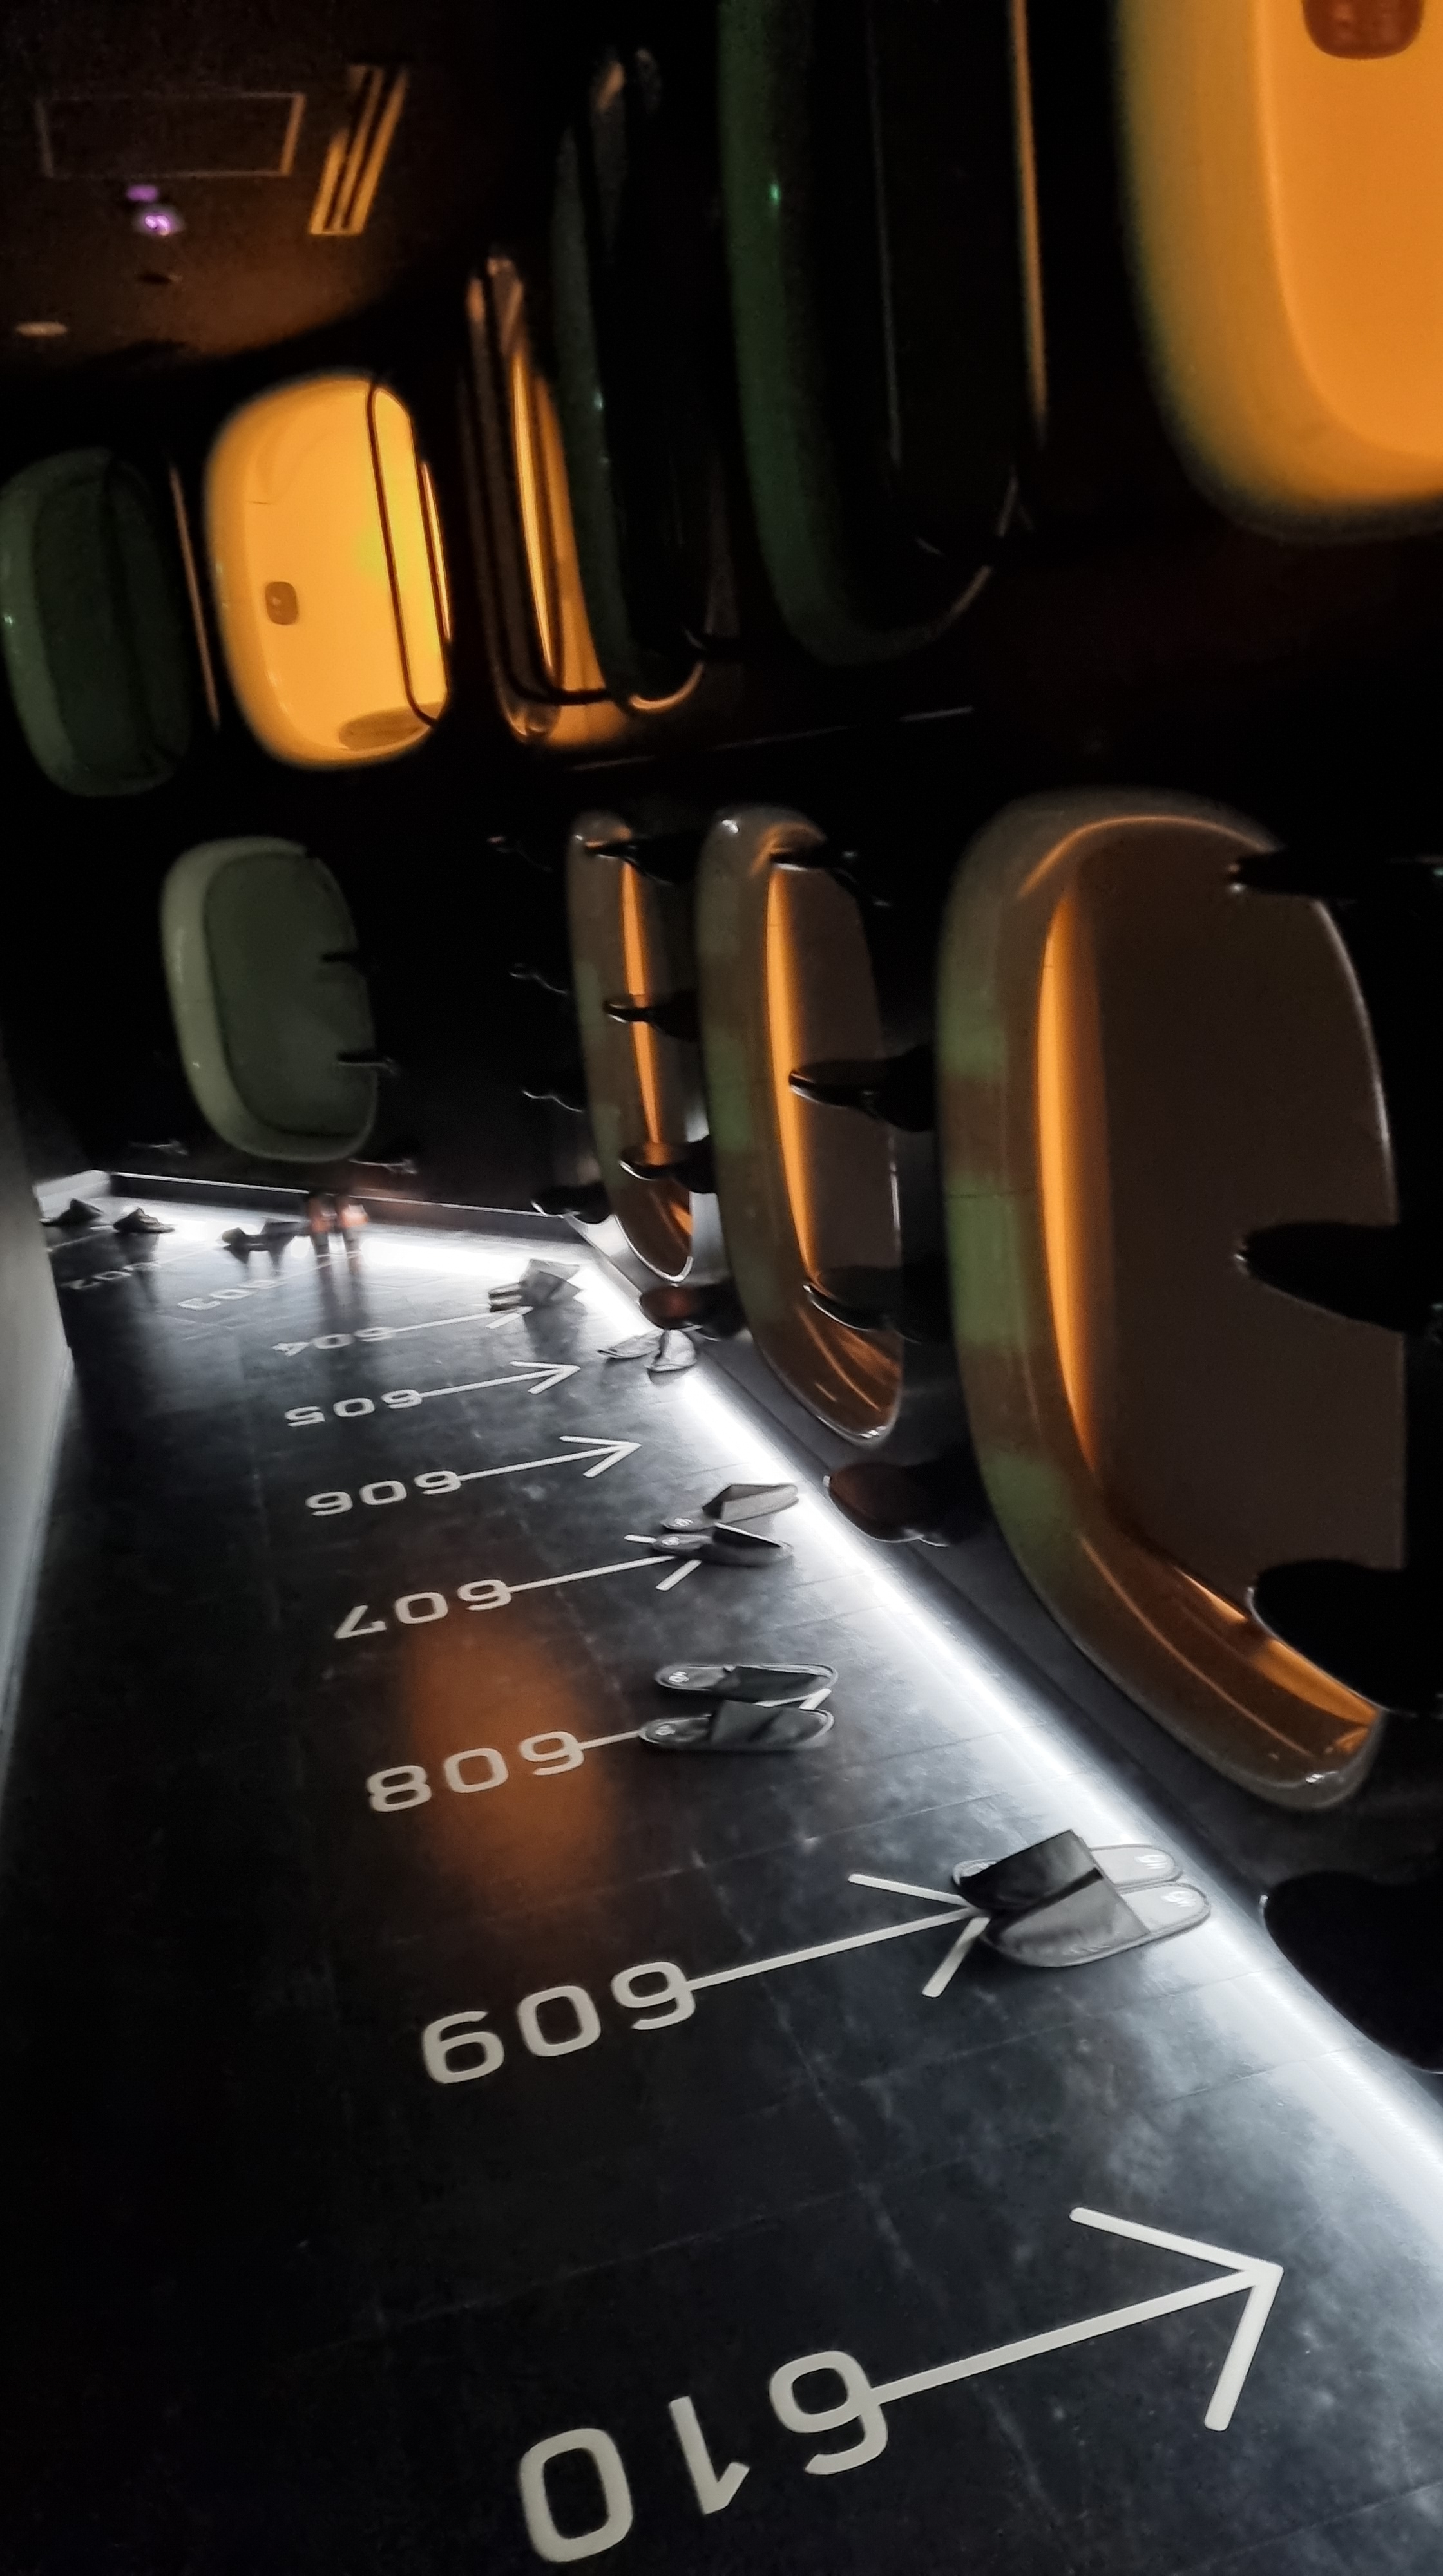
In Tokyo, I booked a capsule hostel at Nine Hours Woman Kanda. I love this hostel as it was very clean, easy to access via Kanda Station, all amenities for solo traveler like me was very convenient to use. Since I stayed here for 4 nights, I just do not like the idea that I have to lock my things every morning at the 1st floor locker. For me, its just a bit of a hassle. For it seems like the other women who stayed in this hostel are working girls, it was appropriate then. I just thought of the fact that they will provide me the same bed with new clean sheets. Plus, they will provide you a Starbucks card worth ¥ 1,000 everyday!
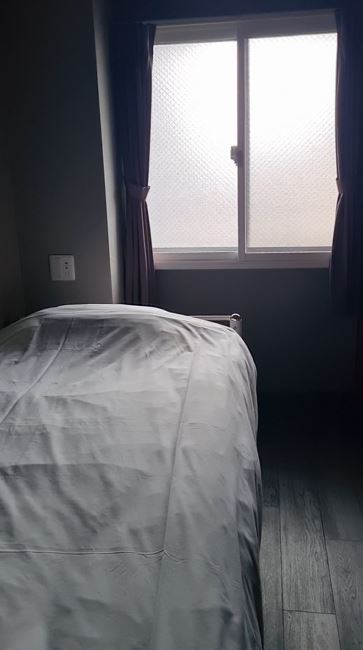
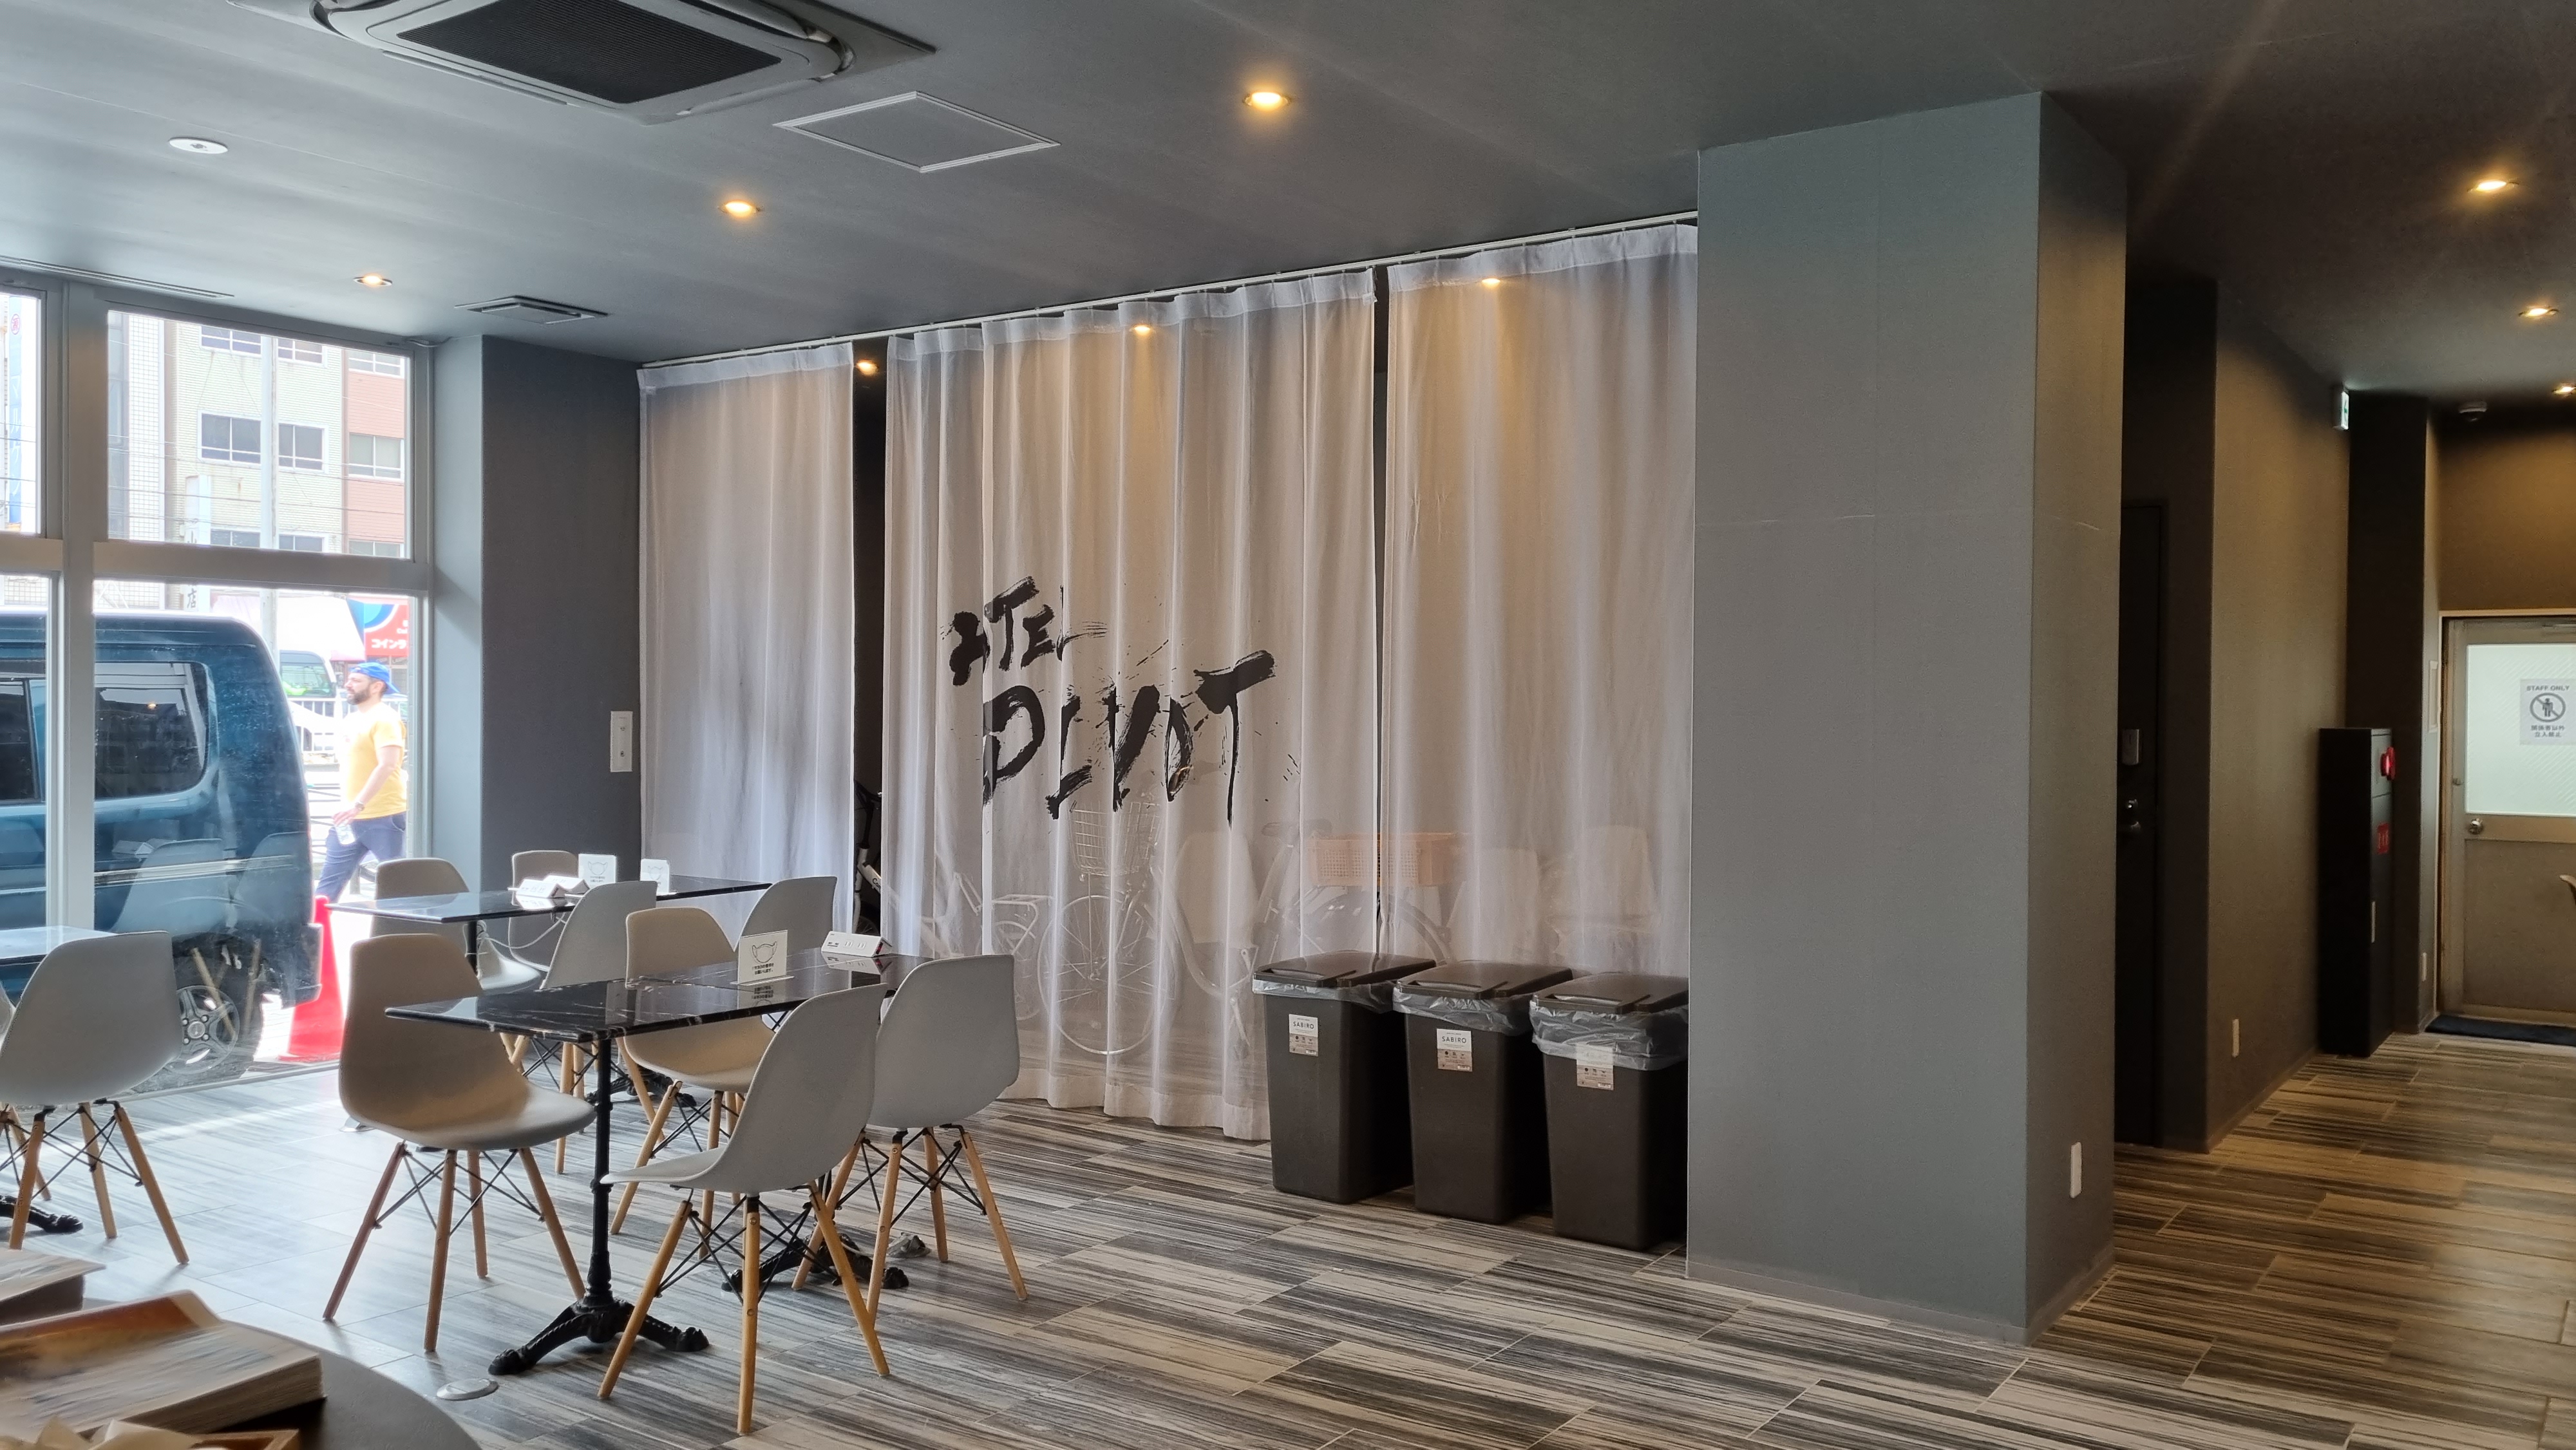
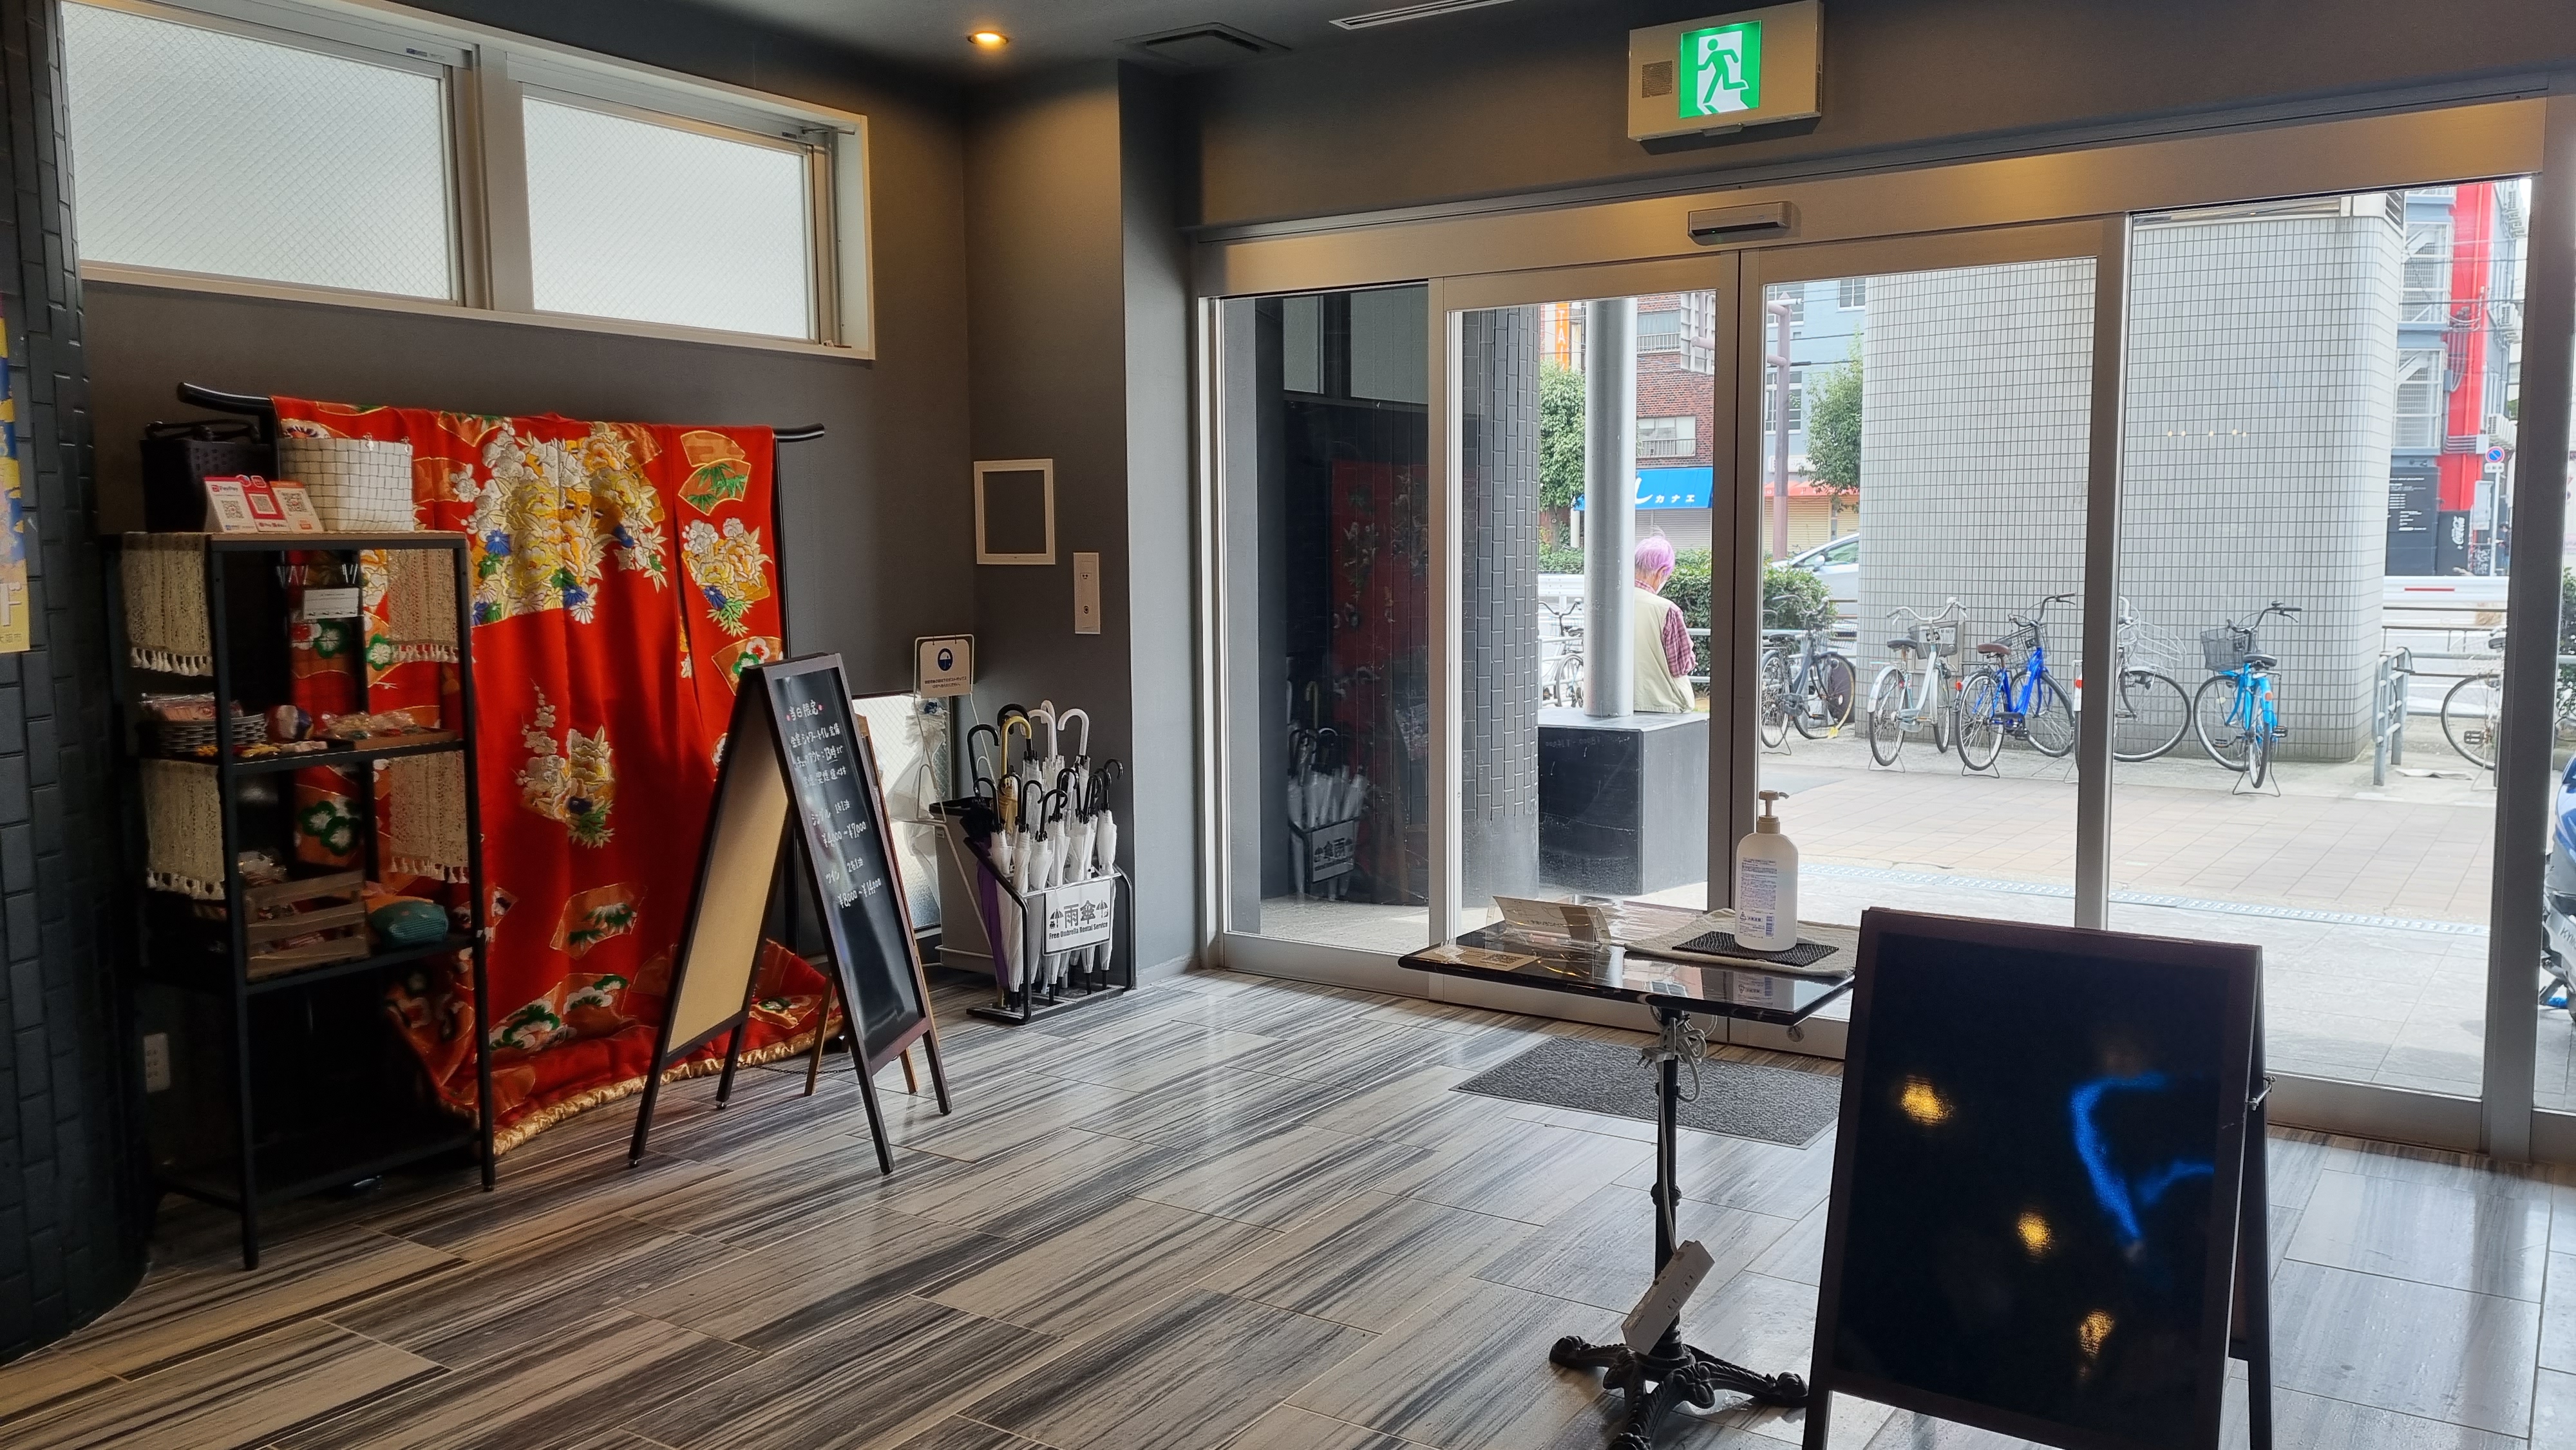
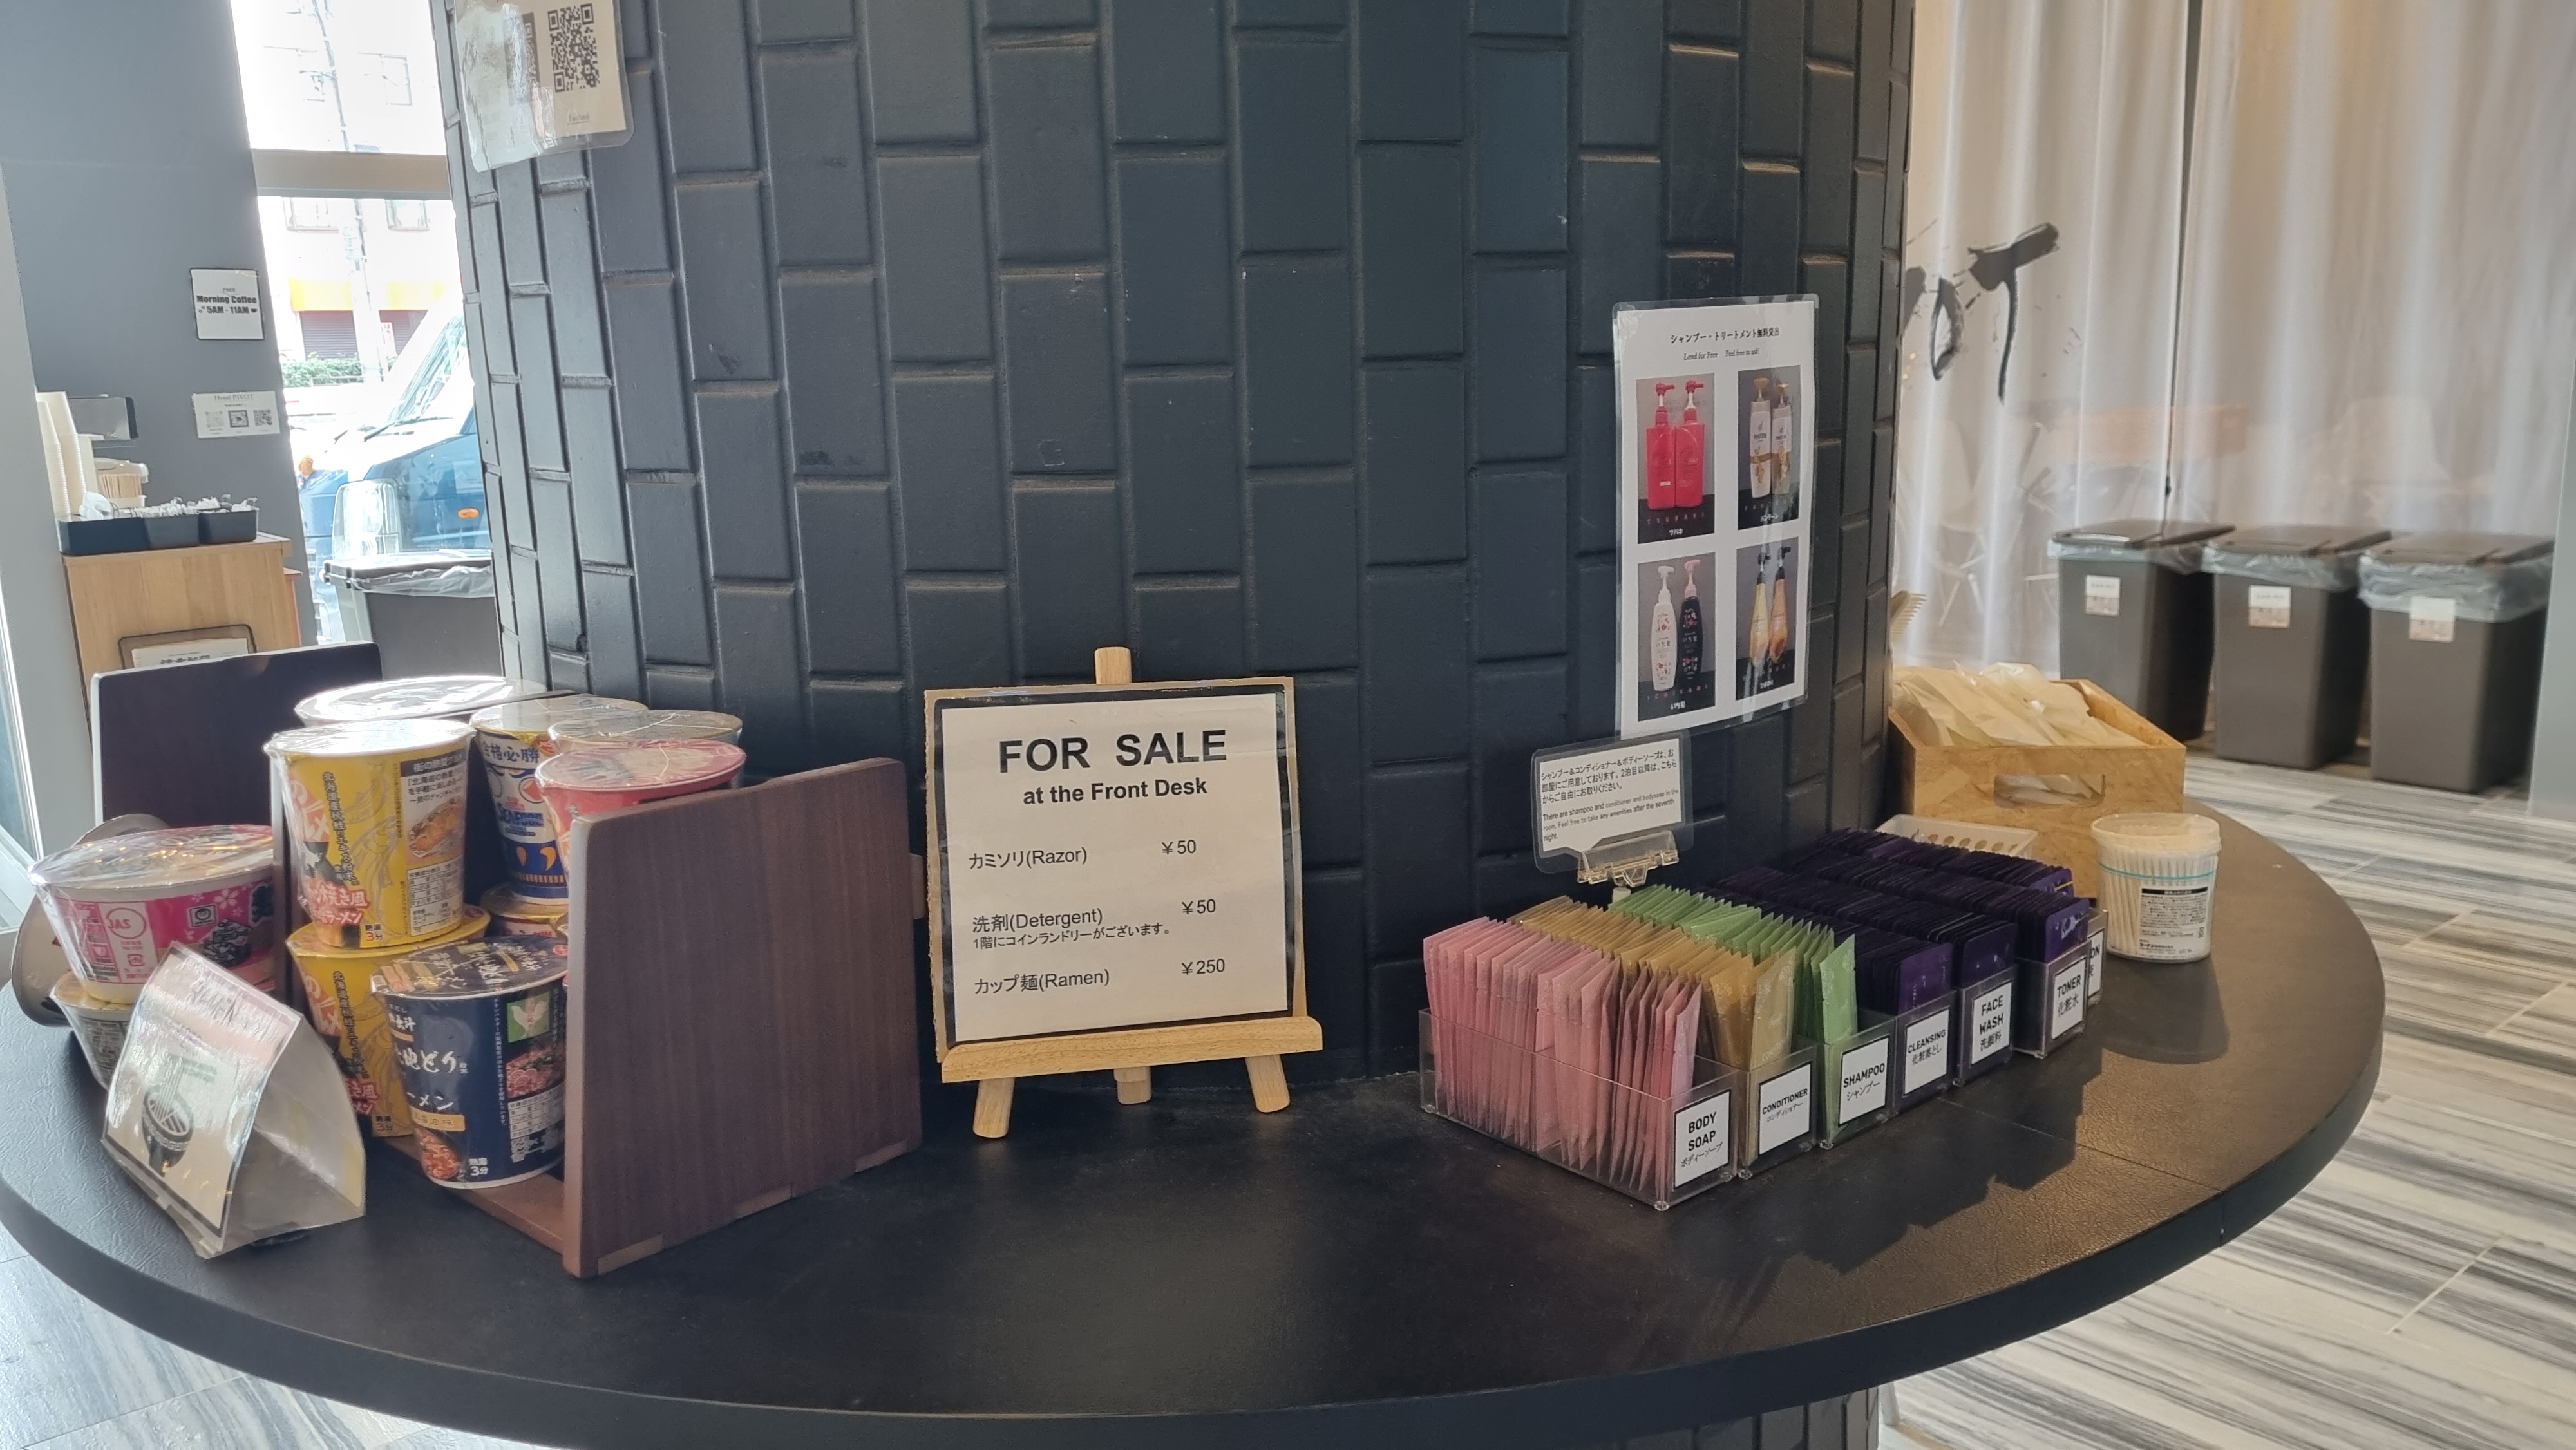
In Osaka, since I have stayed there for 6 nights, I booked Hotel Pivot. It is located near Dobutsuen Mae station. Here, I had my own room with bathroom, air-conditioning, TV, table and chair. The hotel also provide kitchen and utensils where you can cook your own food. Services like umbrella, bicycle, laundry, kimono and makeup are available. Staffs were really nice, too!
Internet Access in Japan
Every time I travel abroad, I always rely to the wi-fi access of my hotel, train stations, restaurants or café. But travelling to Japan is different! You need to have your own internet access to check the train schedules and best routes. I had very little time to plan as well that time thus I opted to buy a sim card with 10GB data.
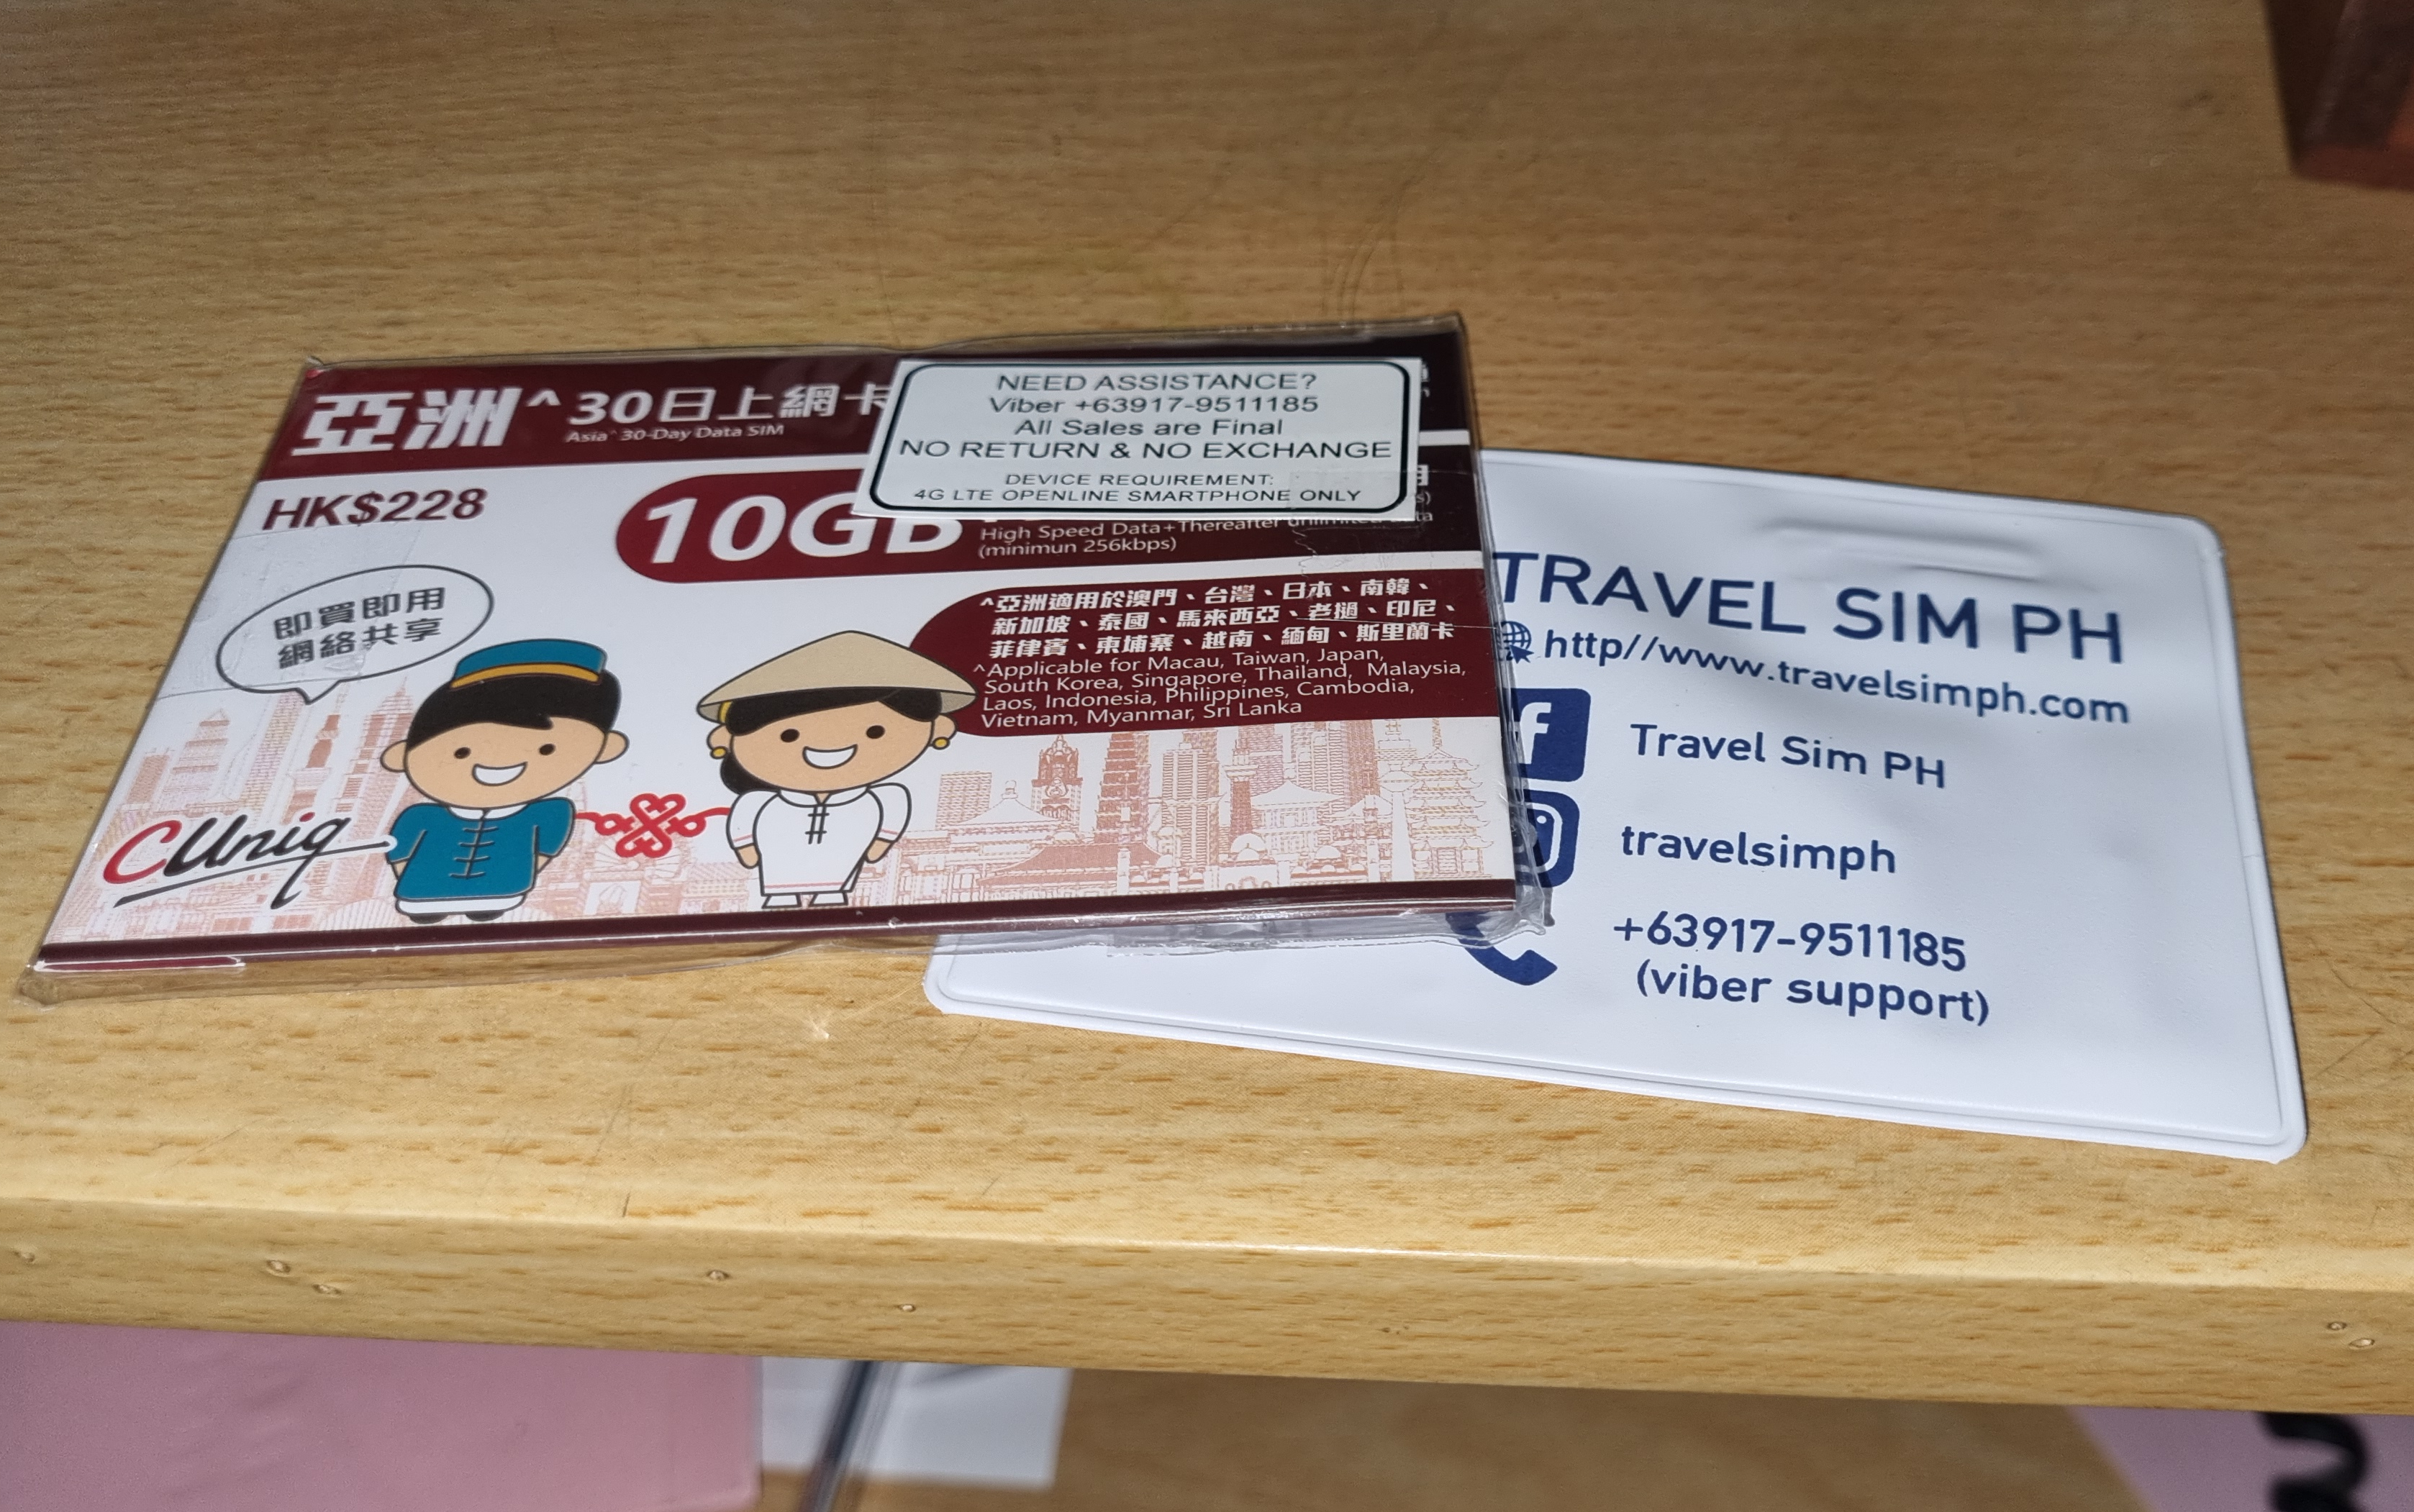
I stayed in Japan for 11 days with not so much of a plan thus it was really convenient to have internet access everywhere. You do not need to worry about the signal as it worked for me as fine everywhere!
Travel Insurance
Weeks before my flight to Japan, I experienced heavy bleeding. It was a nightmare! I kept on having check-ups every week with my OB and diagnosed with PCOS. Aside from PCOS, my ultrasound result showed that my endometrium is too thick resulting to non-stop heavy bleeding.
I notified my OB that I will travel to Japan so she advised me to visit her every week before my travel to monitor my health condition. Up until one week before my flight, I was not sure if I will continue my travel to Japan. I do not want to bleed there! Since I am also travelling alone, I do not want my situation worsen. In God’s grace, after taking the prescribed pills, my bleeding slowed down. My OB then cleared me to travel. She also prescribed me medicine in case bleeding becomes heavy again.
While on this situation, I already thought to avail travel insurance. Aside from the earthquakes in Japan – which of the same month when March 2021 earthquake and tsunami struck, I do not want to be uncertain with this travel. Right there, I availed online the Pacific Cross TravelGuard Executive De Luxe Dollar Plan. This covers my entire stay in Japan, Covid-19 ailment and my pre-existing condition which is PCOS.
It was my first time to avail travel insurance. Though it is not a requirement upon entering Japan, I think it was a good decision. Good thing that I haven’t used it but it’s best to be safe than sorry.
Travel Itinerary
This time around, I let my instinct and our good Lord guide me wherever and whenever! Here was my travel itinerary in Japan! I hope this helps!
Day 1 – Arrival at Narita International Airport by 8PM
Day 2 – Tokyo DIY City Tour
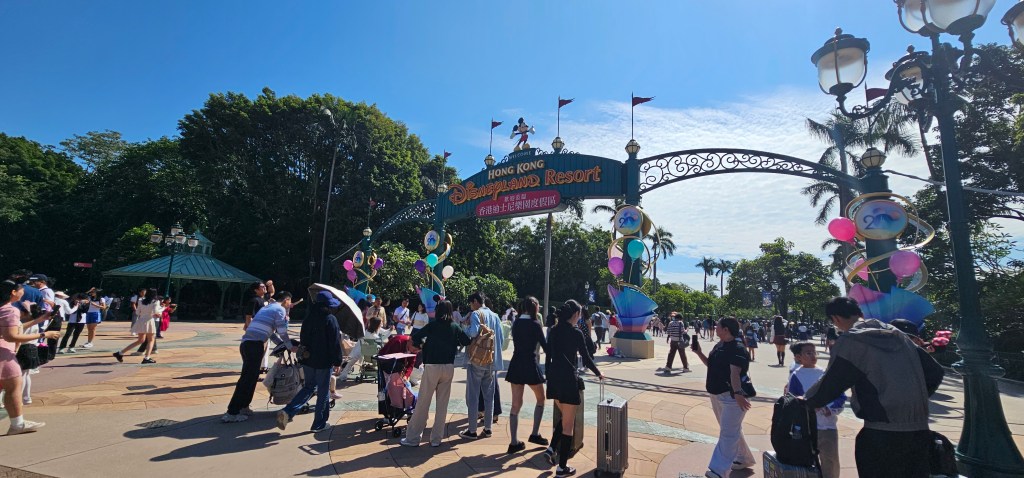
Day 3 – Disneyland Tokyo
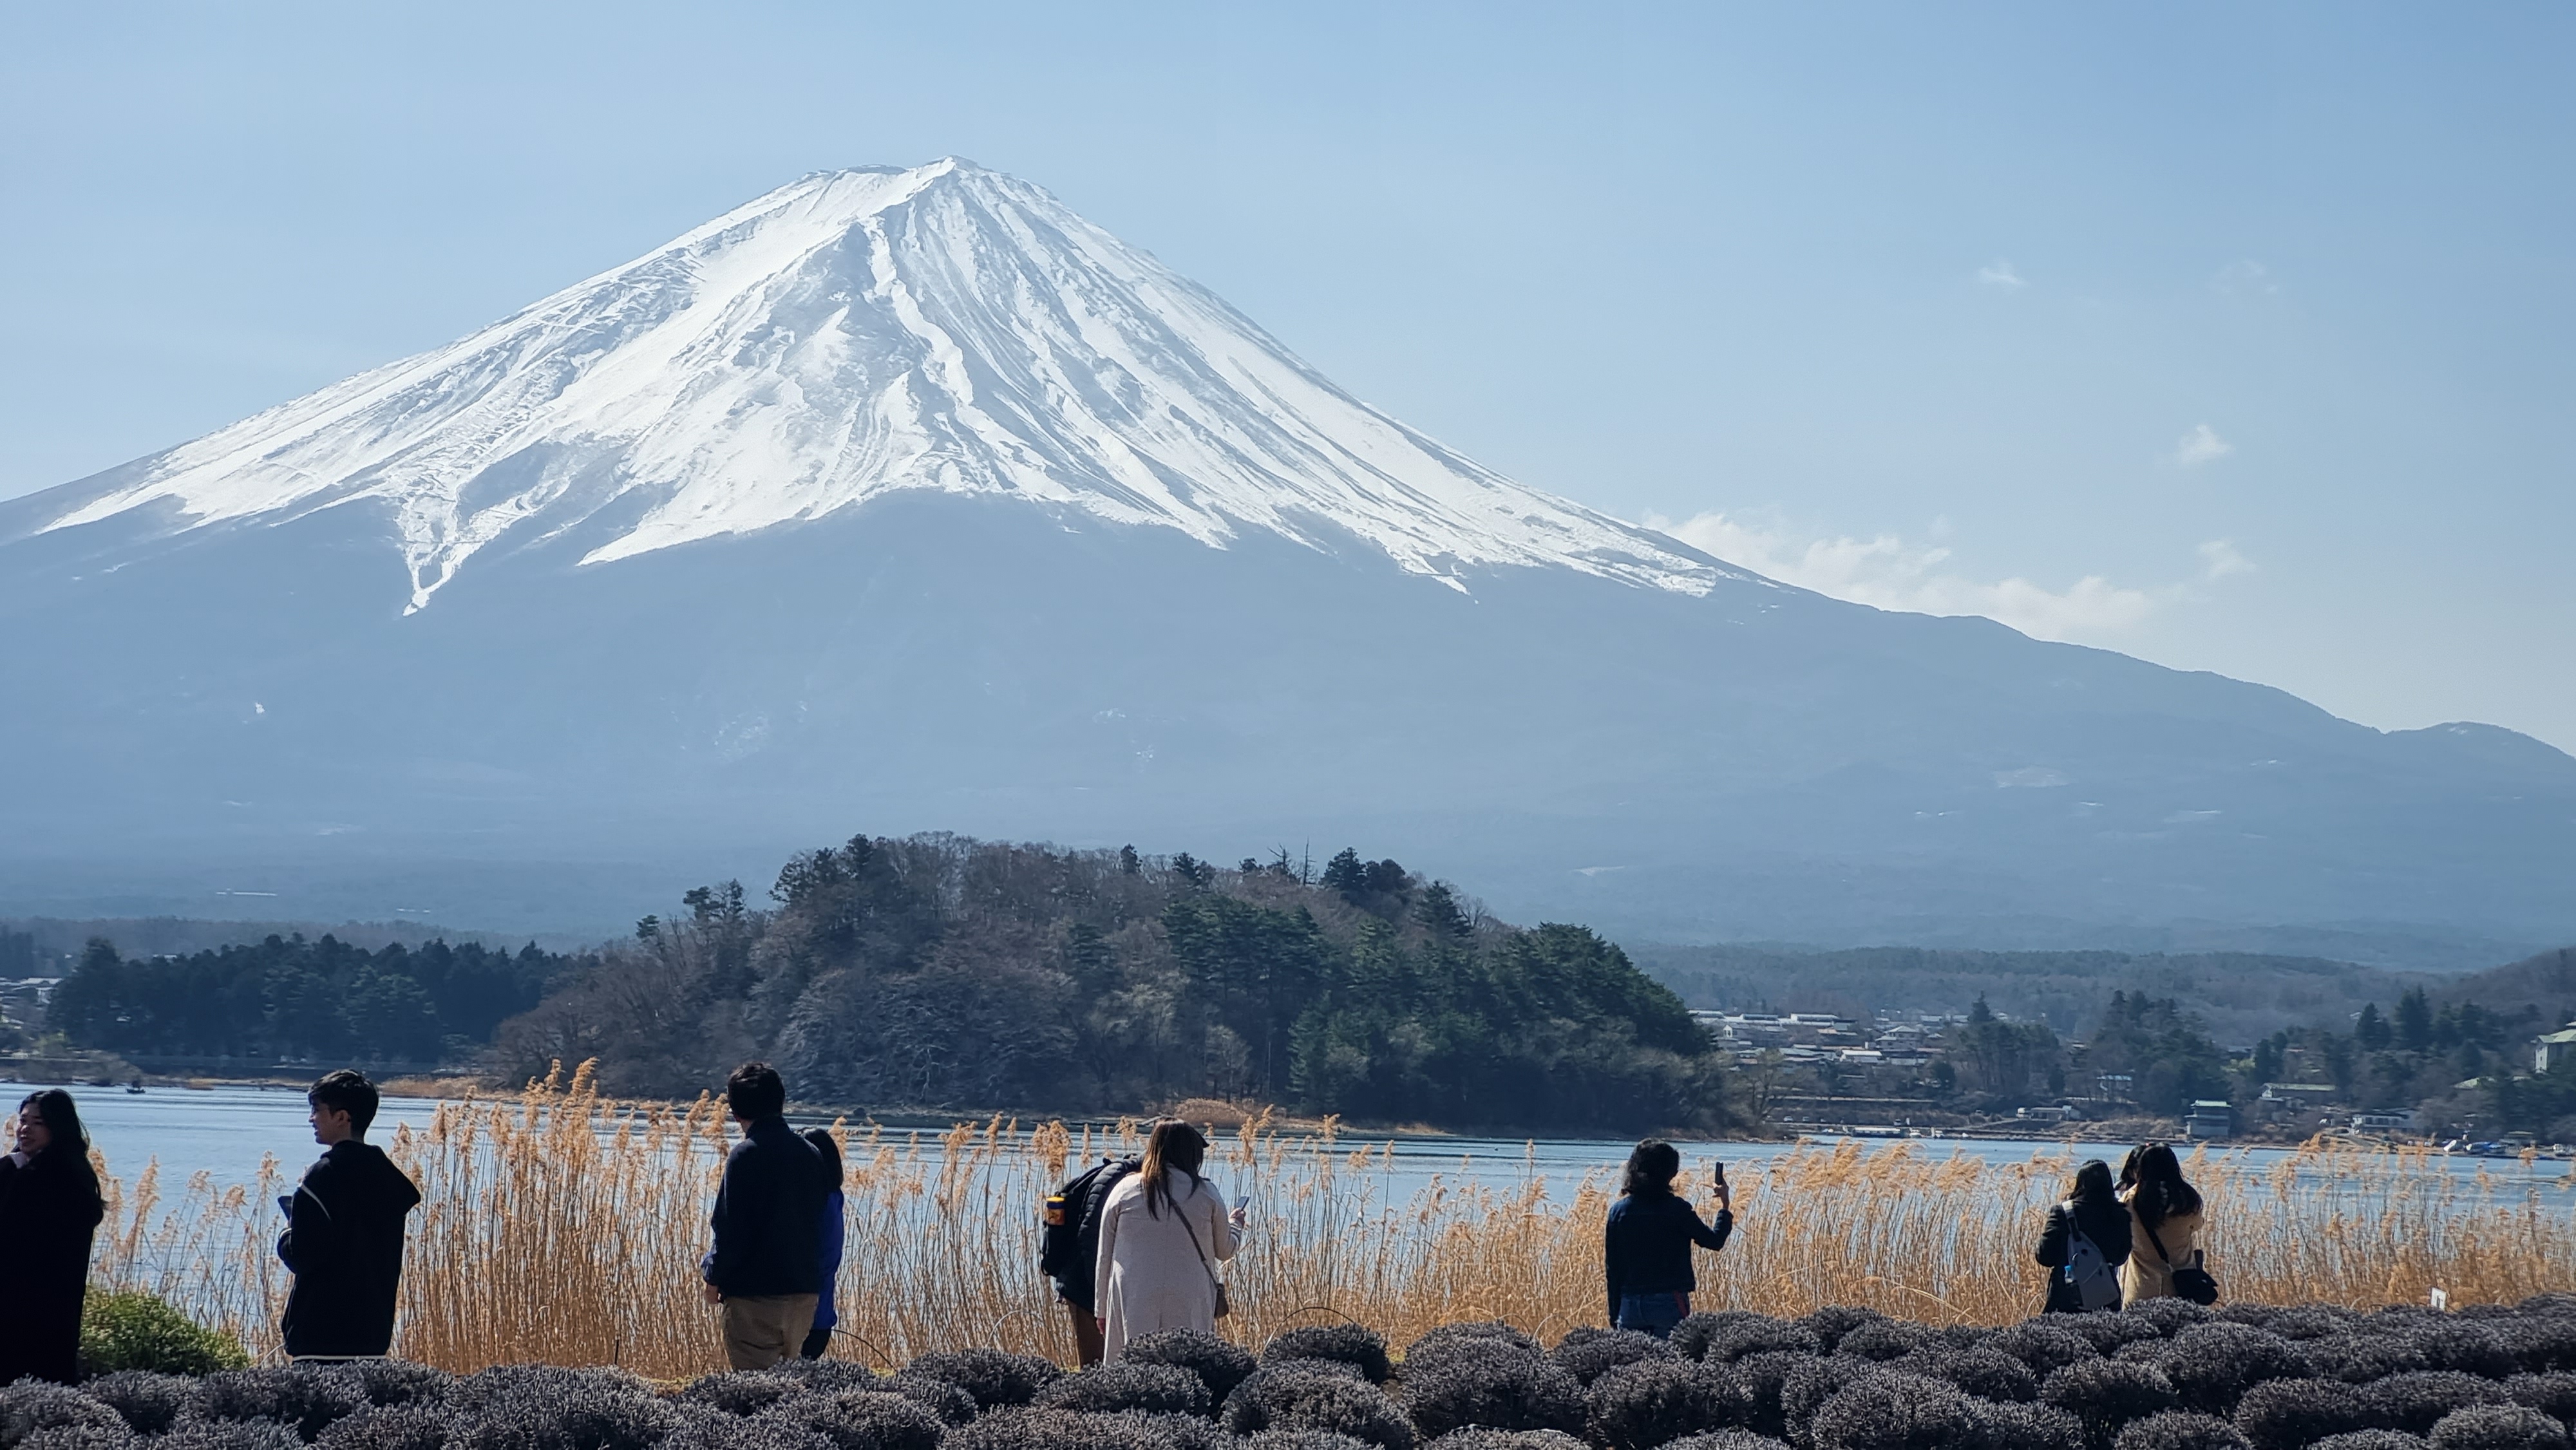
Day 4 – Mt. Fuji Day Tour
Day 5 – Tokyo to Osaka, Osaka Night Tour
Day 6 – Nijigen No Mori in Awaji Island
Day 7 – Kyoto
Day 8 – Nara
Day 9 – Universal Studios Japan
Day 10 – Osaka DIY City Tour
Day 11 – Departure at Kansai International Airport
For the expenses itself, I lost track of it! HAHAHA. Just make sure when you travel to Japan, ensure that your pre-needs such as the hotels, transportations, visa, internet access, theme parks fees and others are all settled! With that you may just worry about the food and of course pasalubong! You may use credit cards, too. ATM machines are almost everywhere!
Roughly, I have spent I guess Php 90,000! A bit so much, but the happiness it brought me after years of waiting to travel was very much worth it! Just think about all the difficulties that we have suffered while in lockdown, I guess our good Lord can still let us make able to earn this money to spend it wisely, too.
As I travel alone in the Land of the Rising Sun, I realized that your childhood perspectives can really change you as you grow to an adult. It was a fun and self-meditating experience for me! I know I want to travel again after pandemic but I never realized that I missed so much of the road, culture and new people until I travelled to Japan.
Having thoughts now to apply for multiple-entry visa! ❤

Leave a comment